Mobile Menu MENU

1-800-421-4070

Tag Archive: DIY

  1. Grow Your Own Bouquet: How to Plan a Cut Flower Garden

    Comments Off on Grow Your Own Bouquet: How to Plan a Cut Flower Garden

    How to Grow Your Own Bouquets: Cut flower gardening

    Introduction

    Dreaming of fresh flowers right outside your door? A cut flower garden is a beautiful way to bring color, fragrance, and joy to your home — from the garden to the vase. Whether you’re arranging blooms for your kitchen table or prepping petals for a special event, a little planning goes a long way. Here’s how to grow your own fresh bouquets all season long with a cut flower garden!

    Start with What You Love

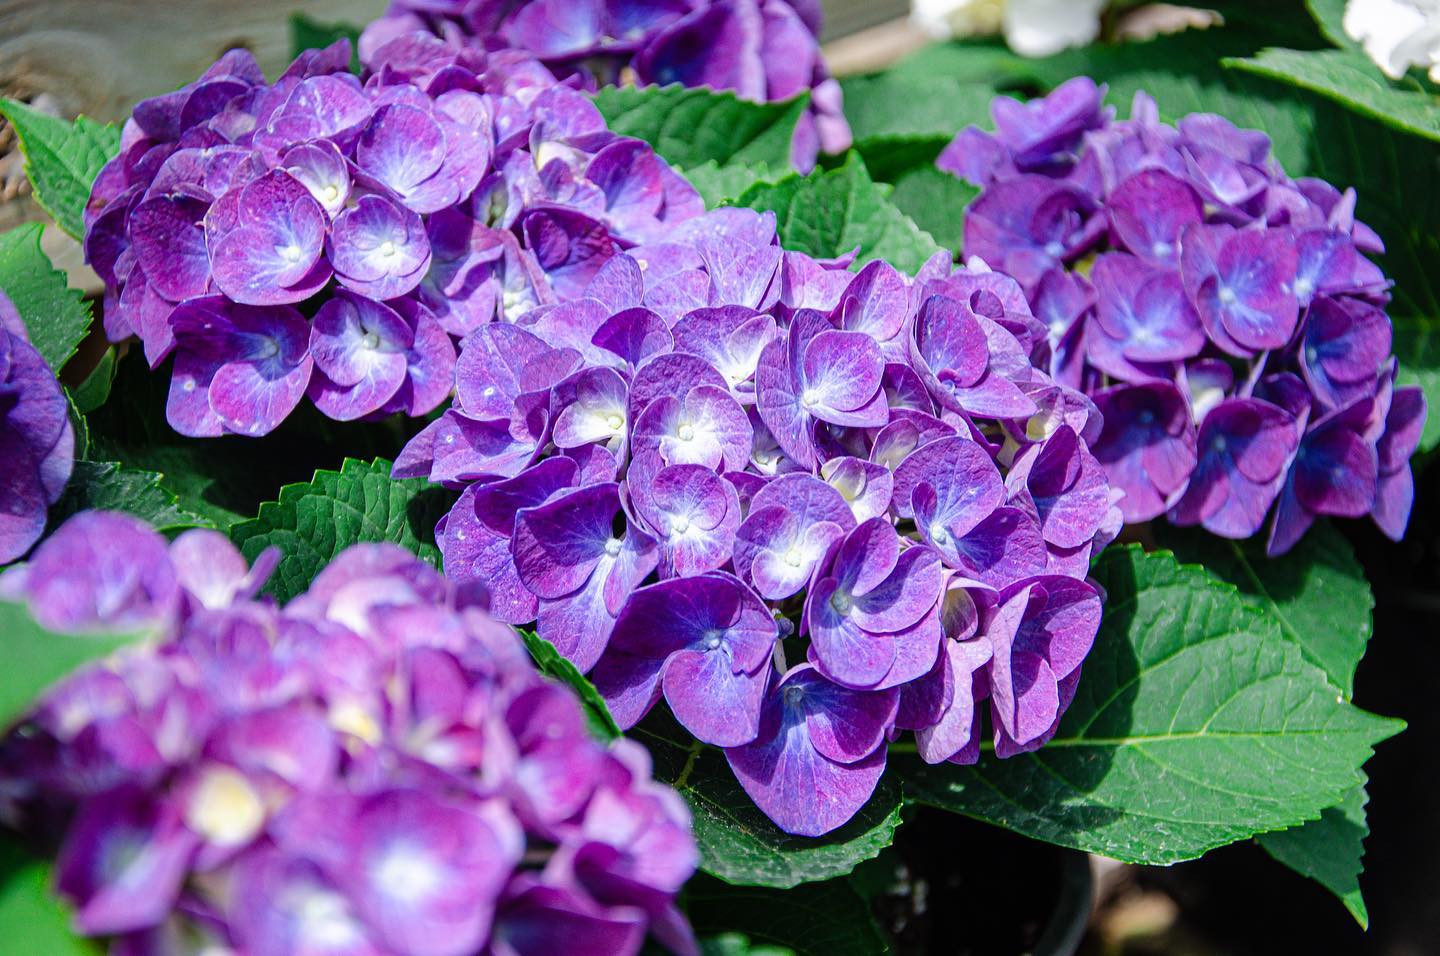
    Before digging in, ask yourself: What kinds of flowers make you smile? Do you want show-stopping stems for arrangements, soft blooms for crafts, or a rainbow of color just because? Consider how you’ll use the flowers—some, like zinnias and cosmos, bloom continuously and are perfect for frequent picking. Others, like peonies or lilies, make a big impact for short bursts of time. If allergies are a concern, look for pollen-less varieties or scent-free blooms.

    Lilies are a great choice for cut flower gardening

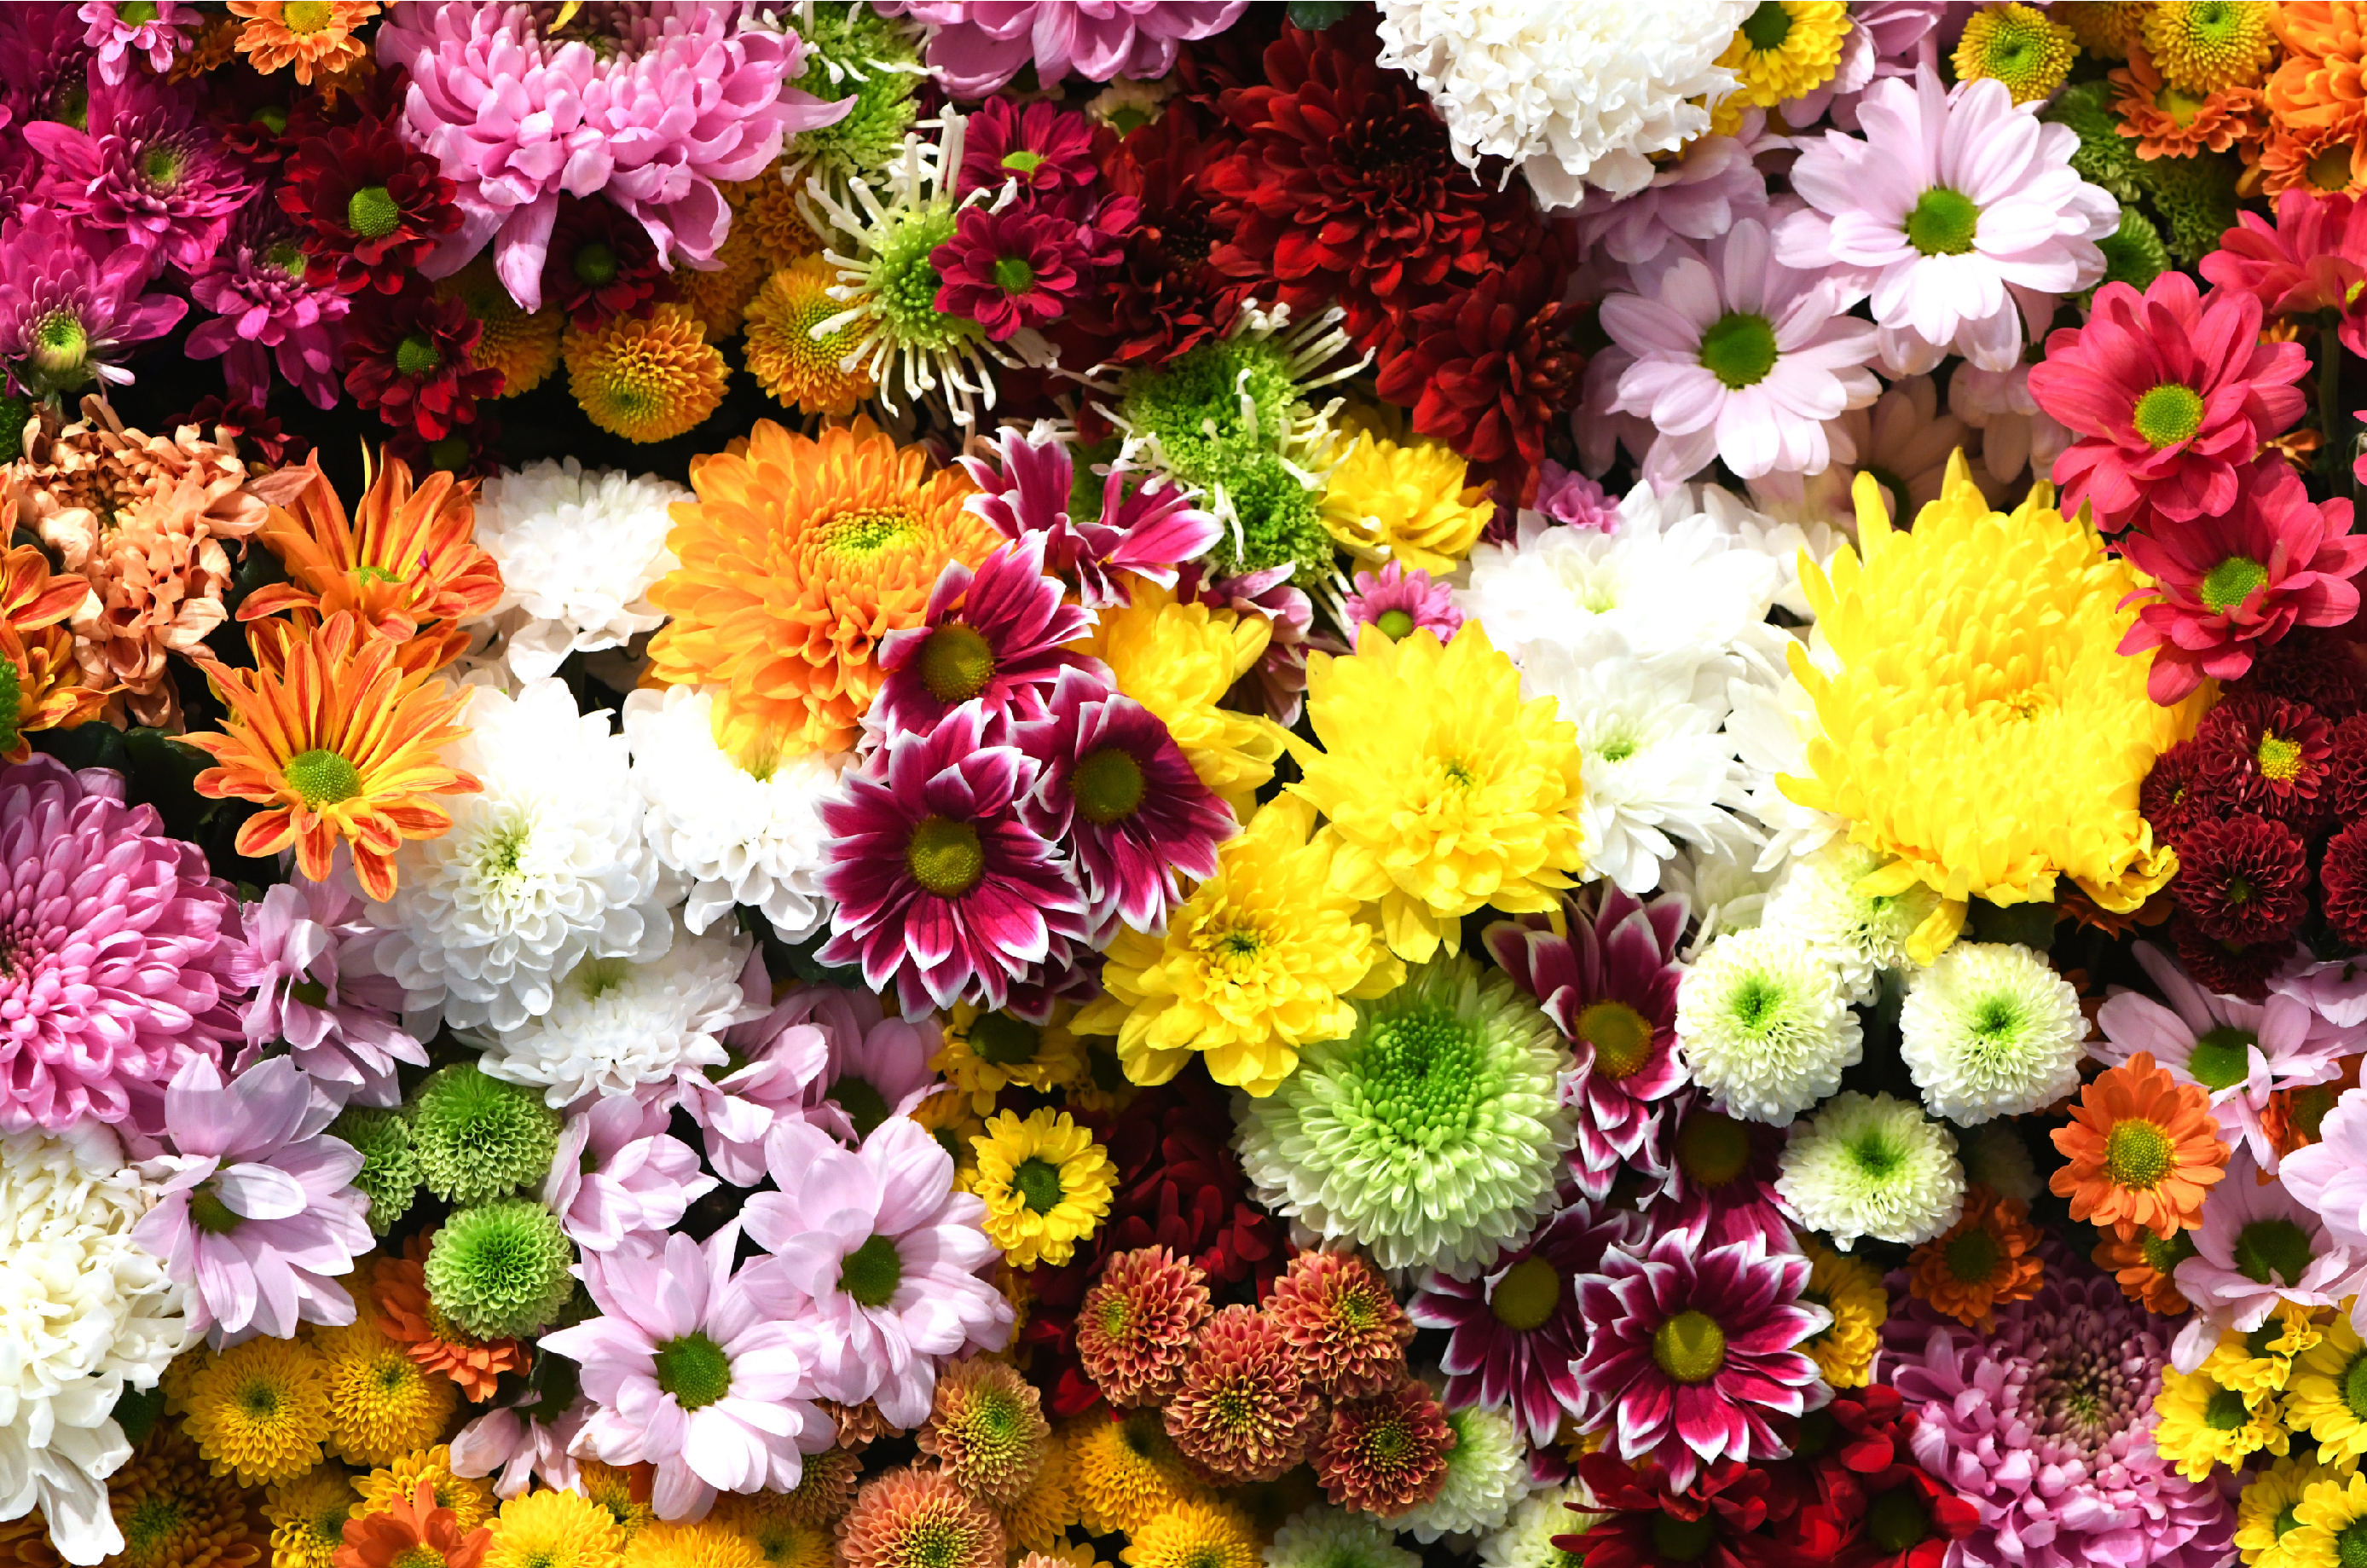
    Flower Favorites for Zone 7

    Here are just a few options that thrive in Zone 7:

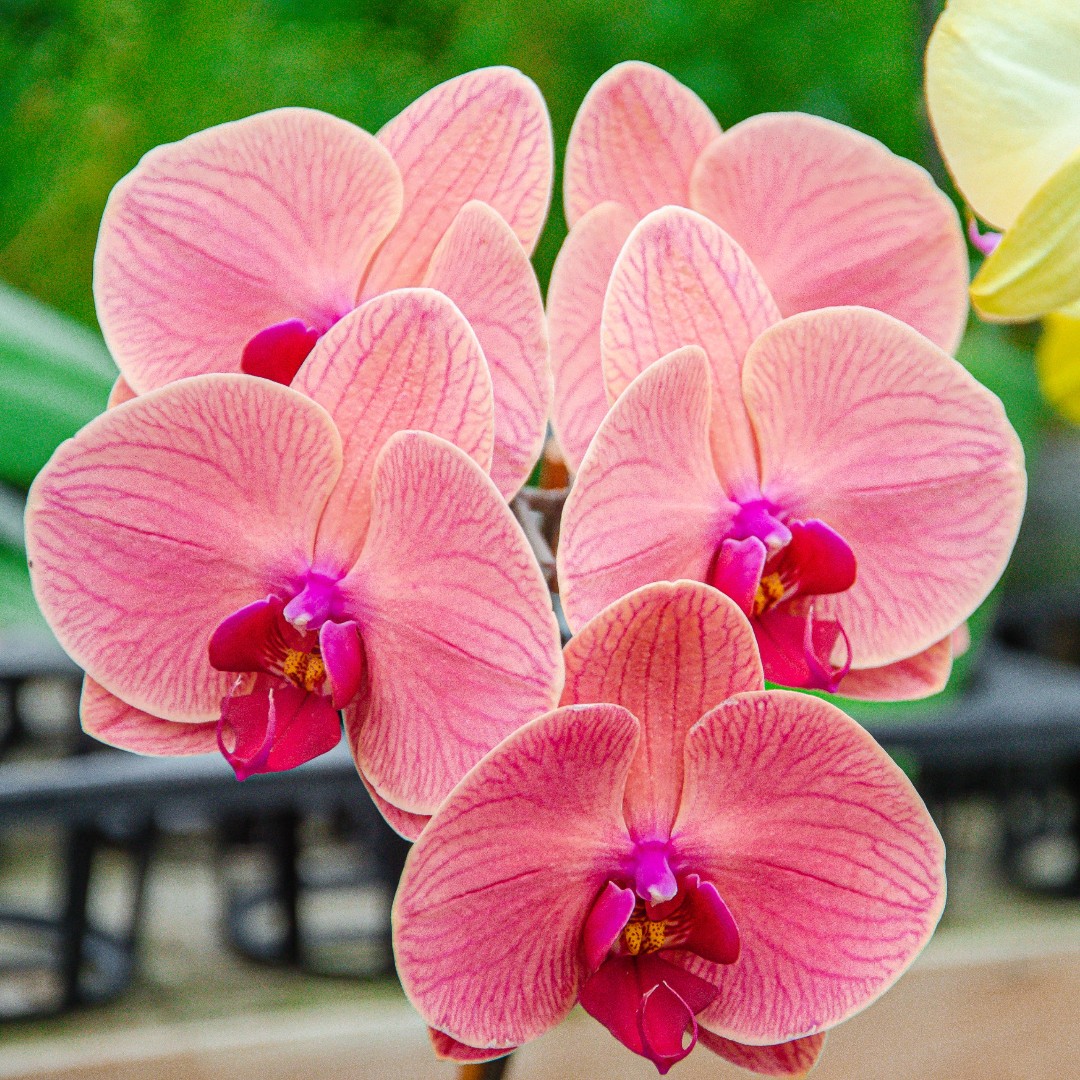
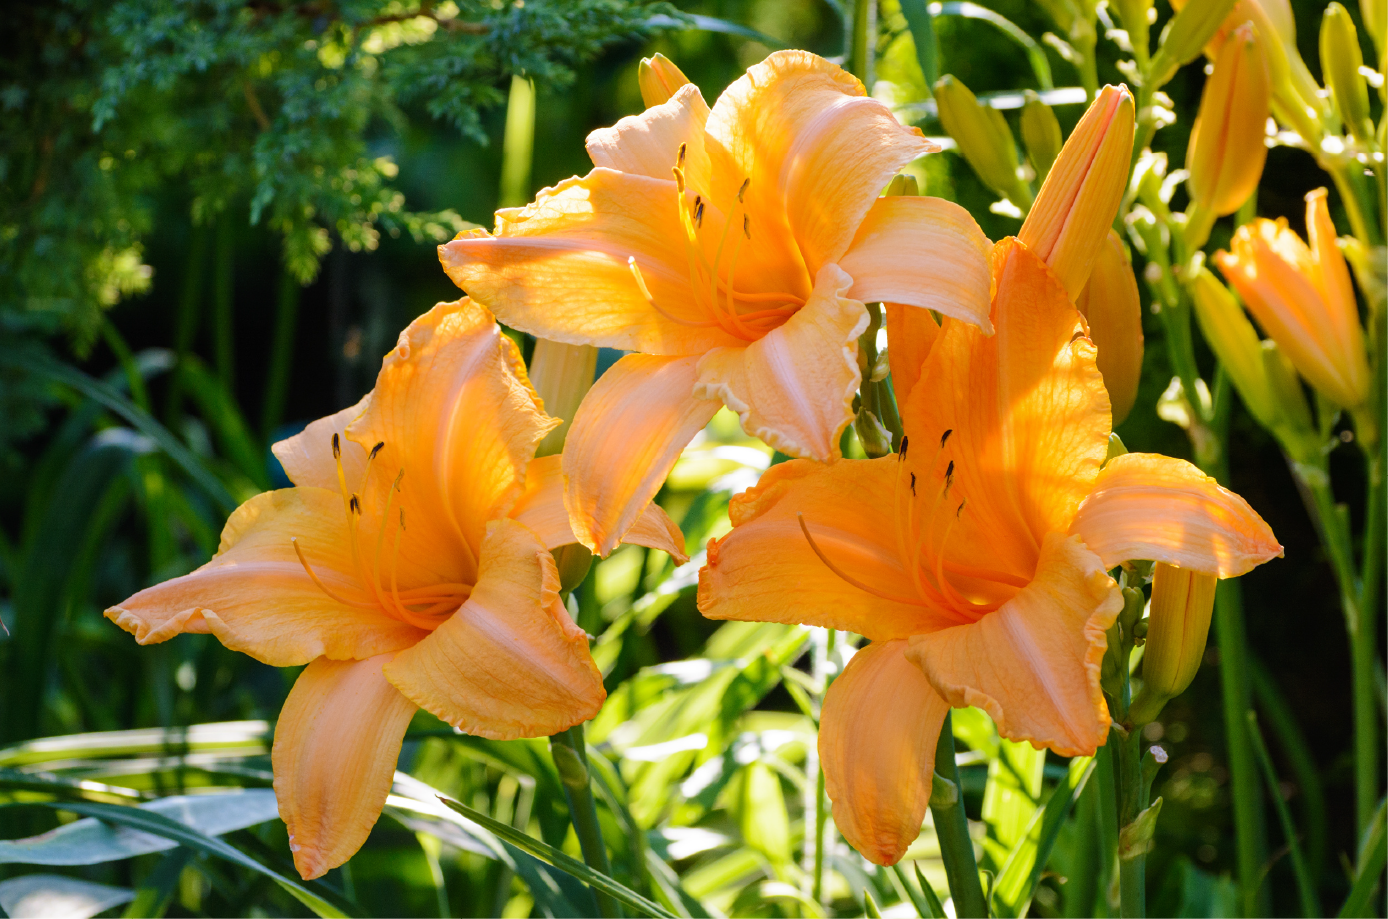
    • Perennials: Roses*, lavender*, peonies*, lilies*, coneflowers, carnations, gardenia*, columbine

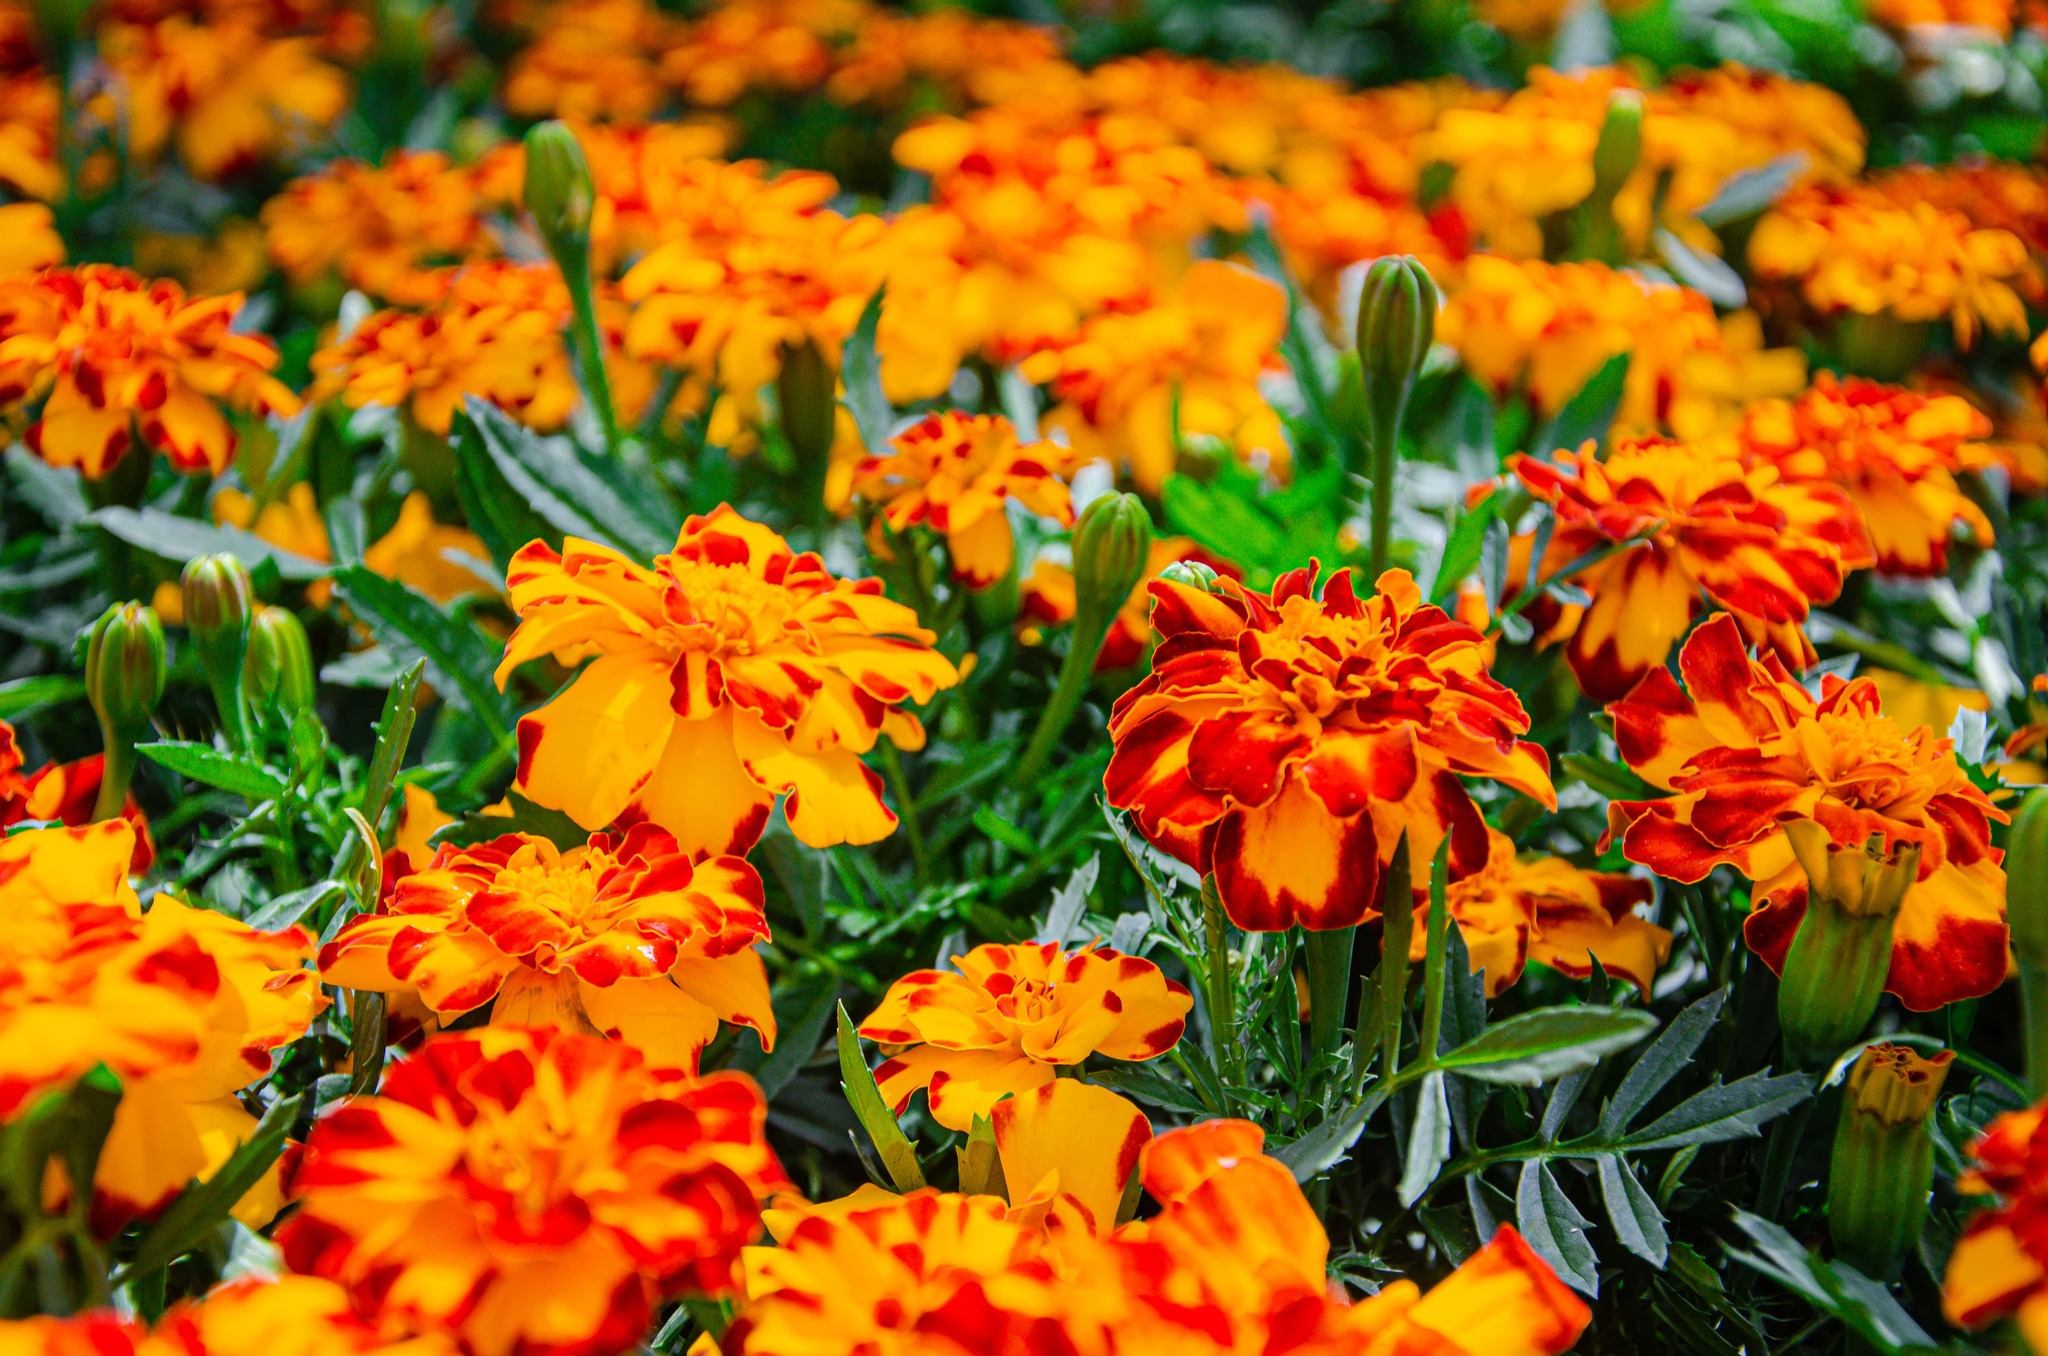
    • Annuals: Zinnias, cosmos, sunflowers, marigolds, sweet peas*, bachelor’s buttons

    • Biennials: Hollyhock, foxglove(* = Sweet scent!)

    Mix textures, heights, and bloom times for a garden that evolves beautifully from spring through fall.

    Make a Cut Flower Garden Plan

    Once you’ve chosen your flowers, sketch a simple layout. Place taller varieties like sunflowers in the back, mid-height plants like snapdragons in the middle, and shorter ones like marigolds up front. A mix of focal flowers, filler blooms, and foliage (think eucalyptus or Queen Anne’s lace) gives your bouquets depth and dimension.

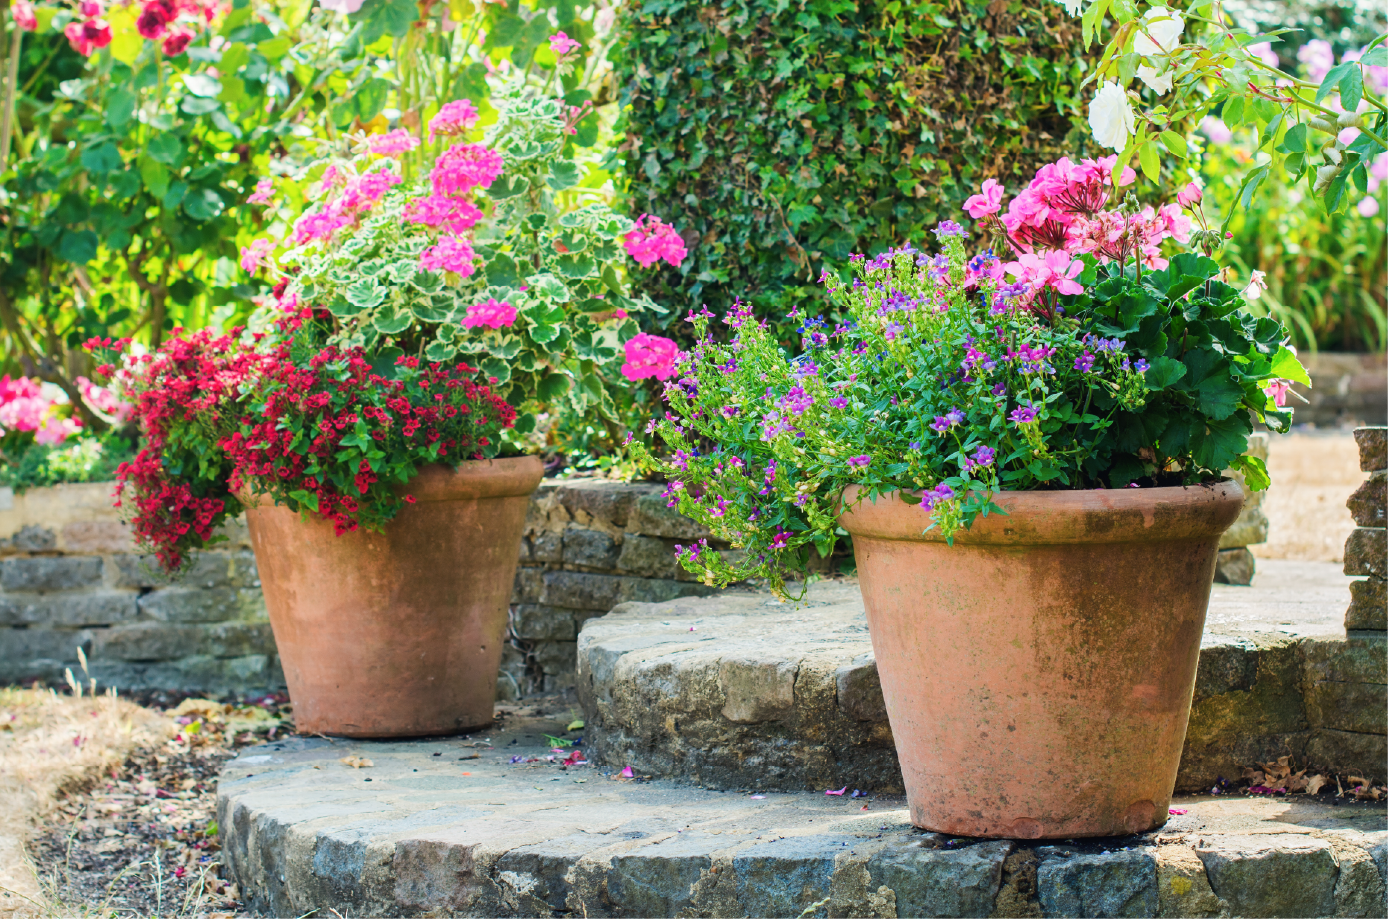
    No yard? No problem. You can tuck flowers into veggie beds, pots, or along a sunny sidewalk.
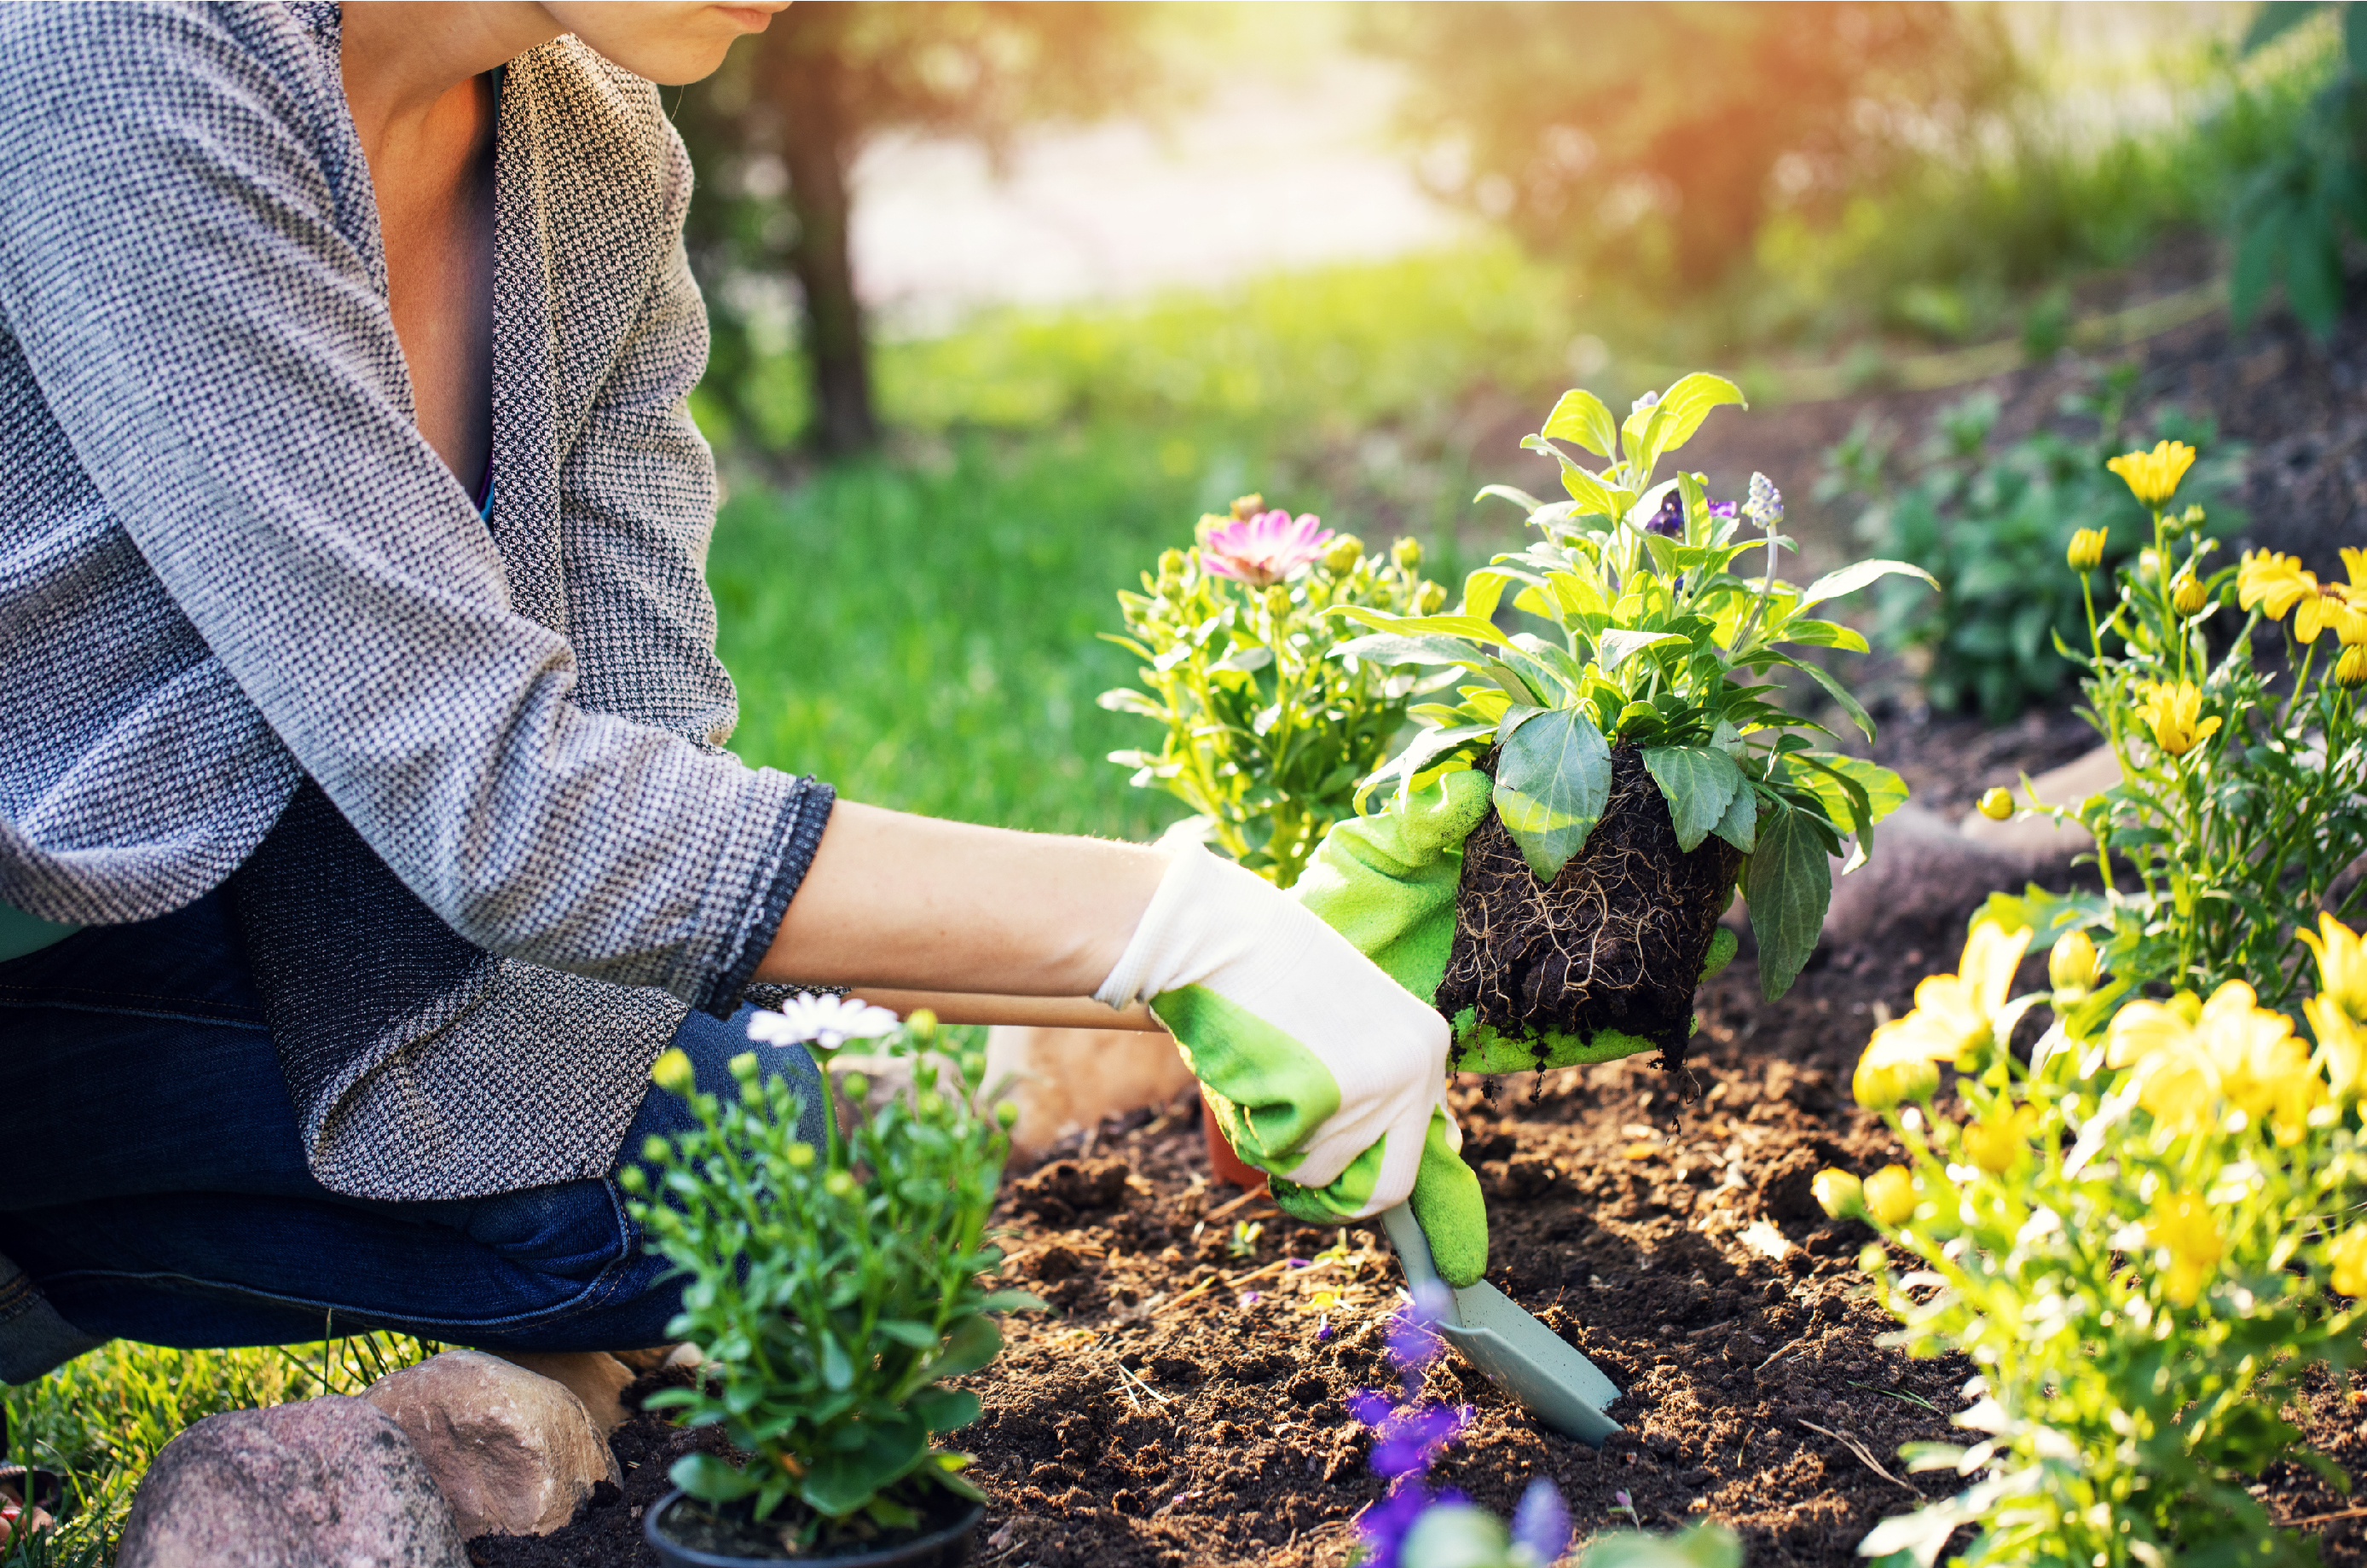
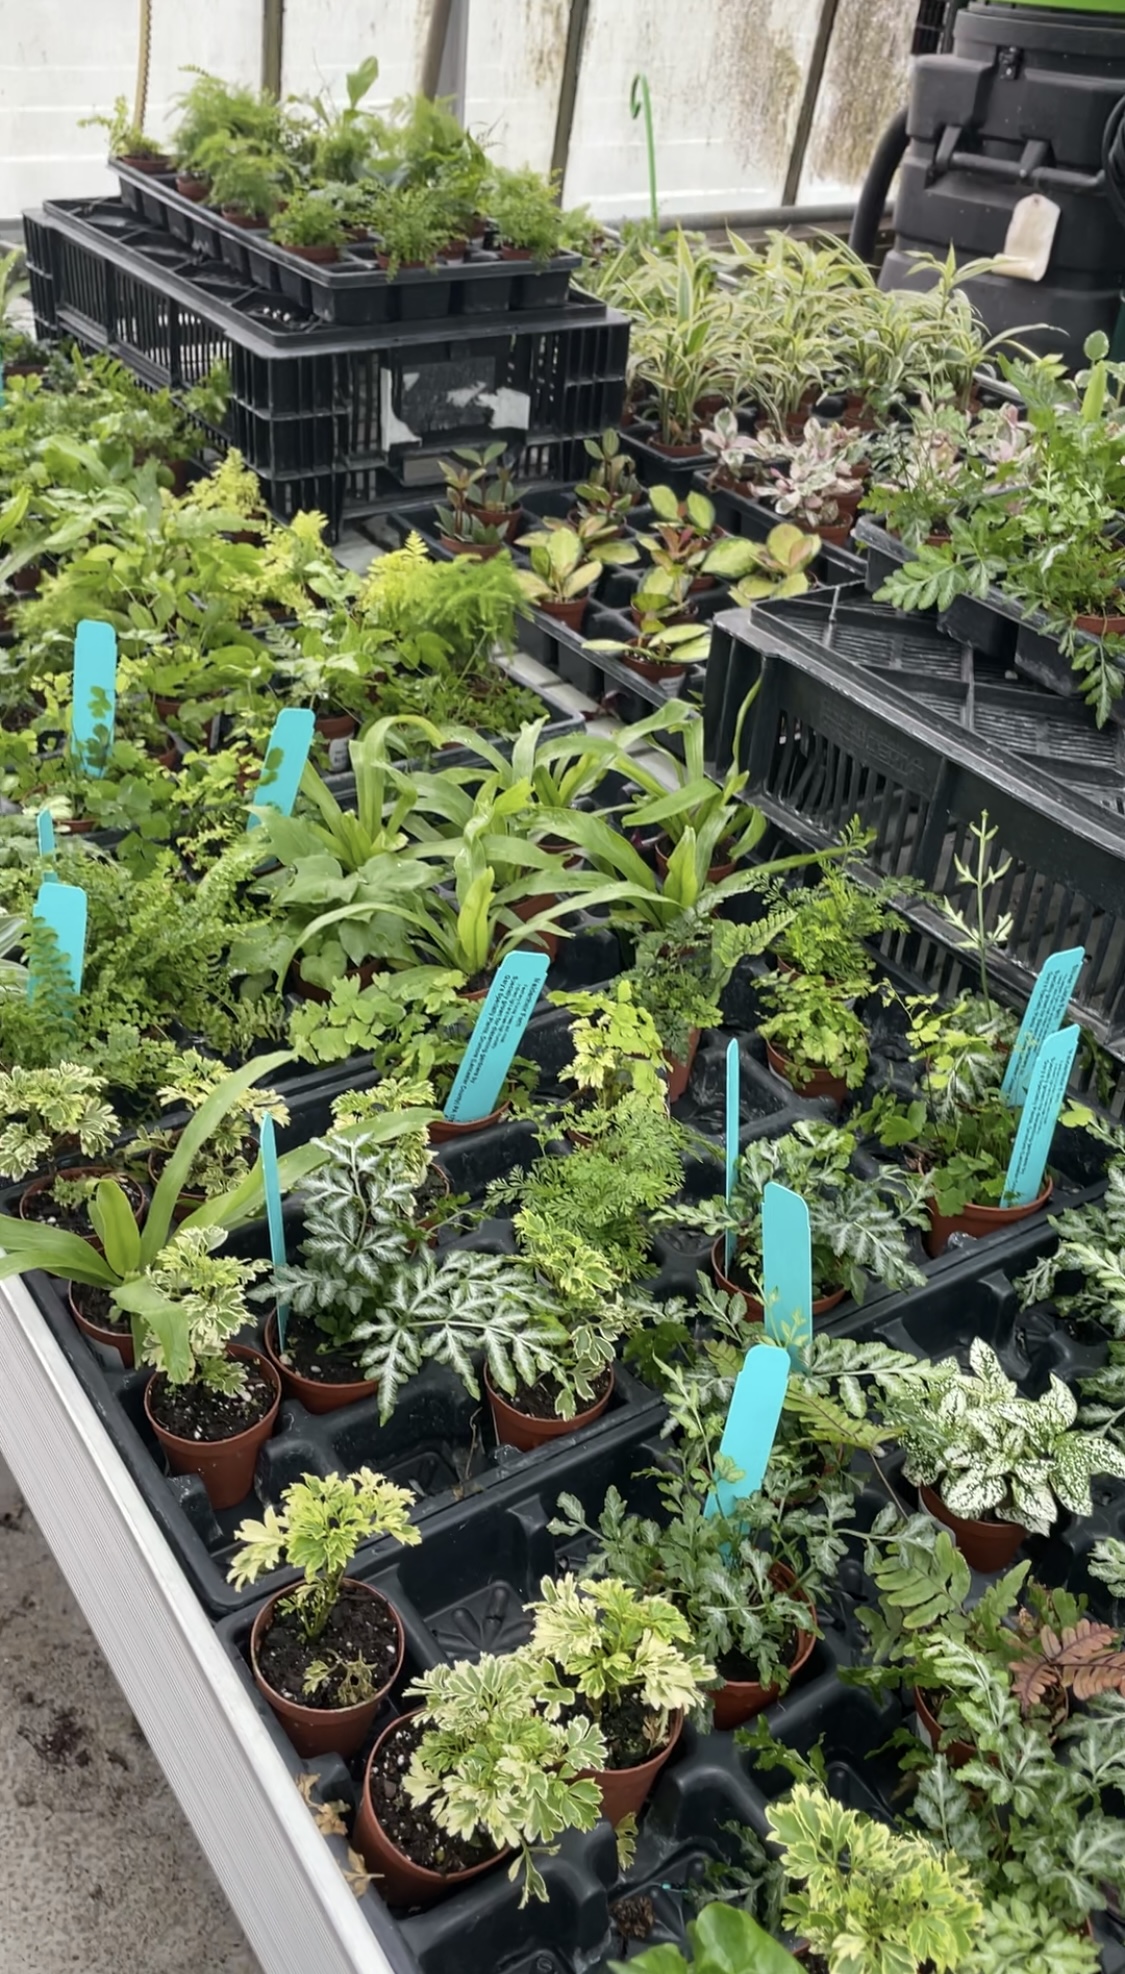
    Flowers look just as good (and grow just as well) in containers or pots

    Prepare the Soil

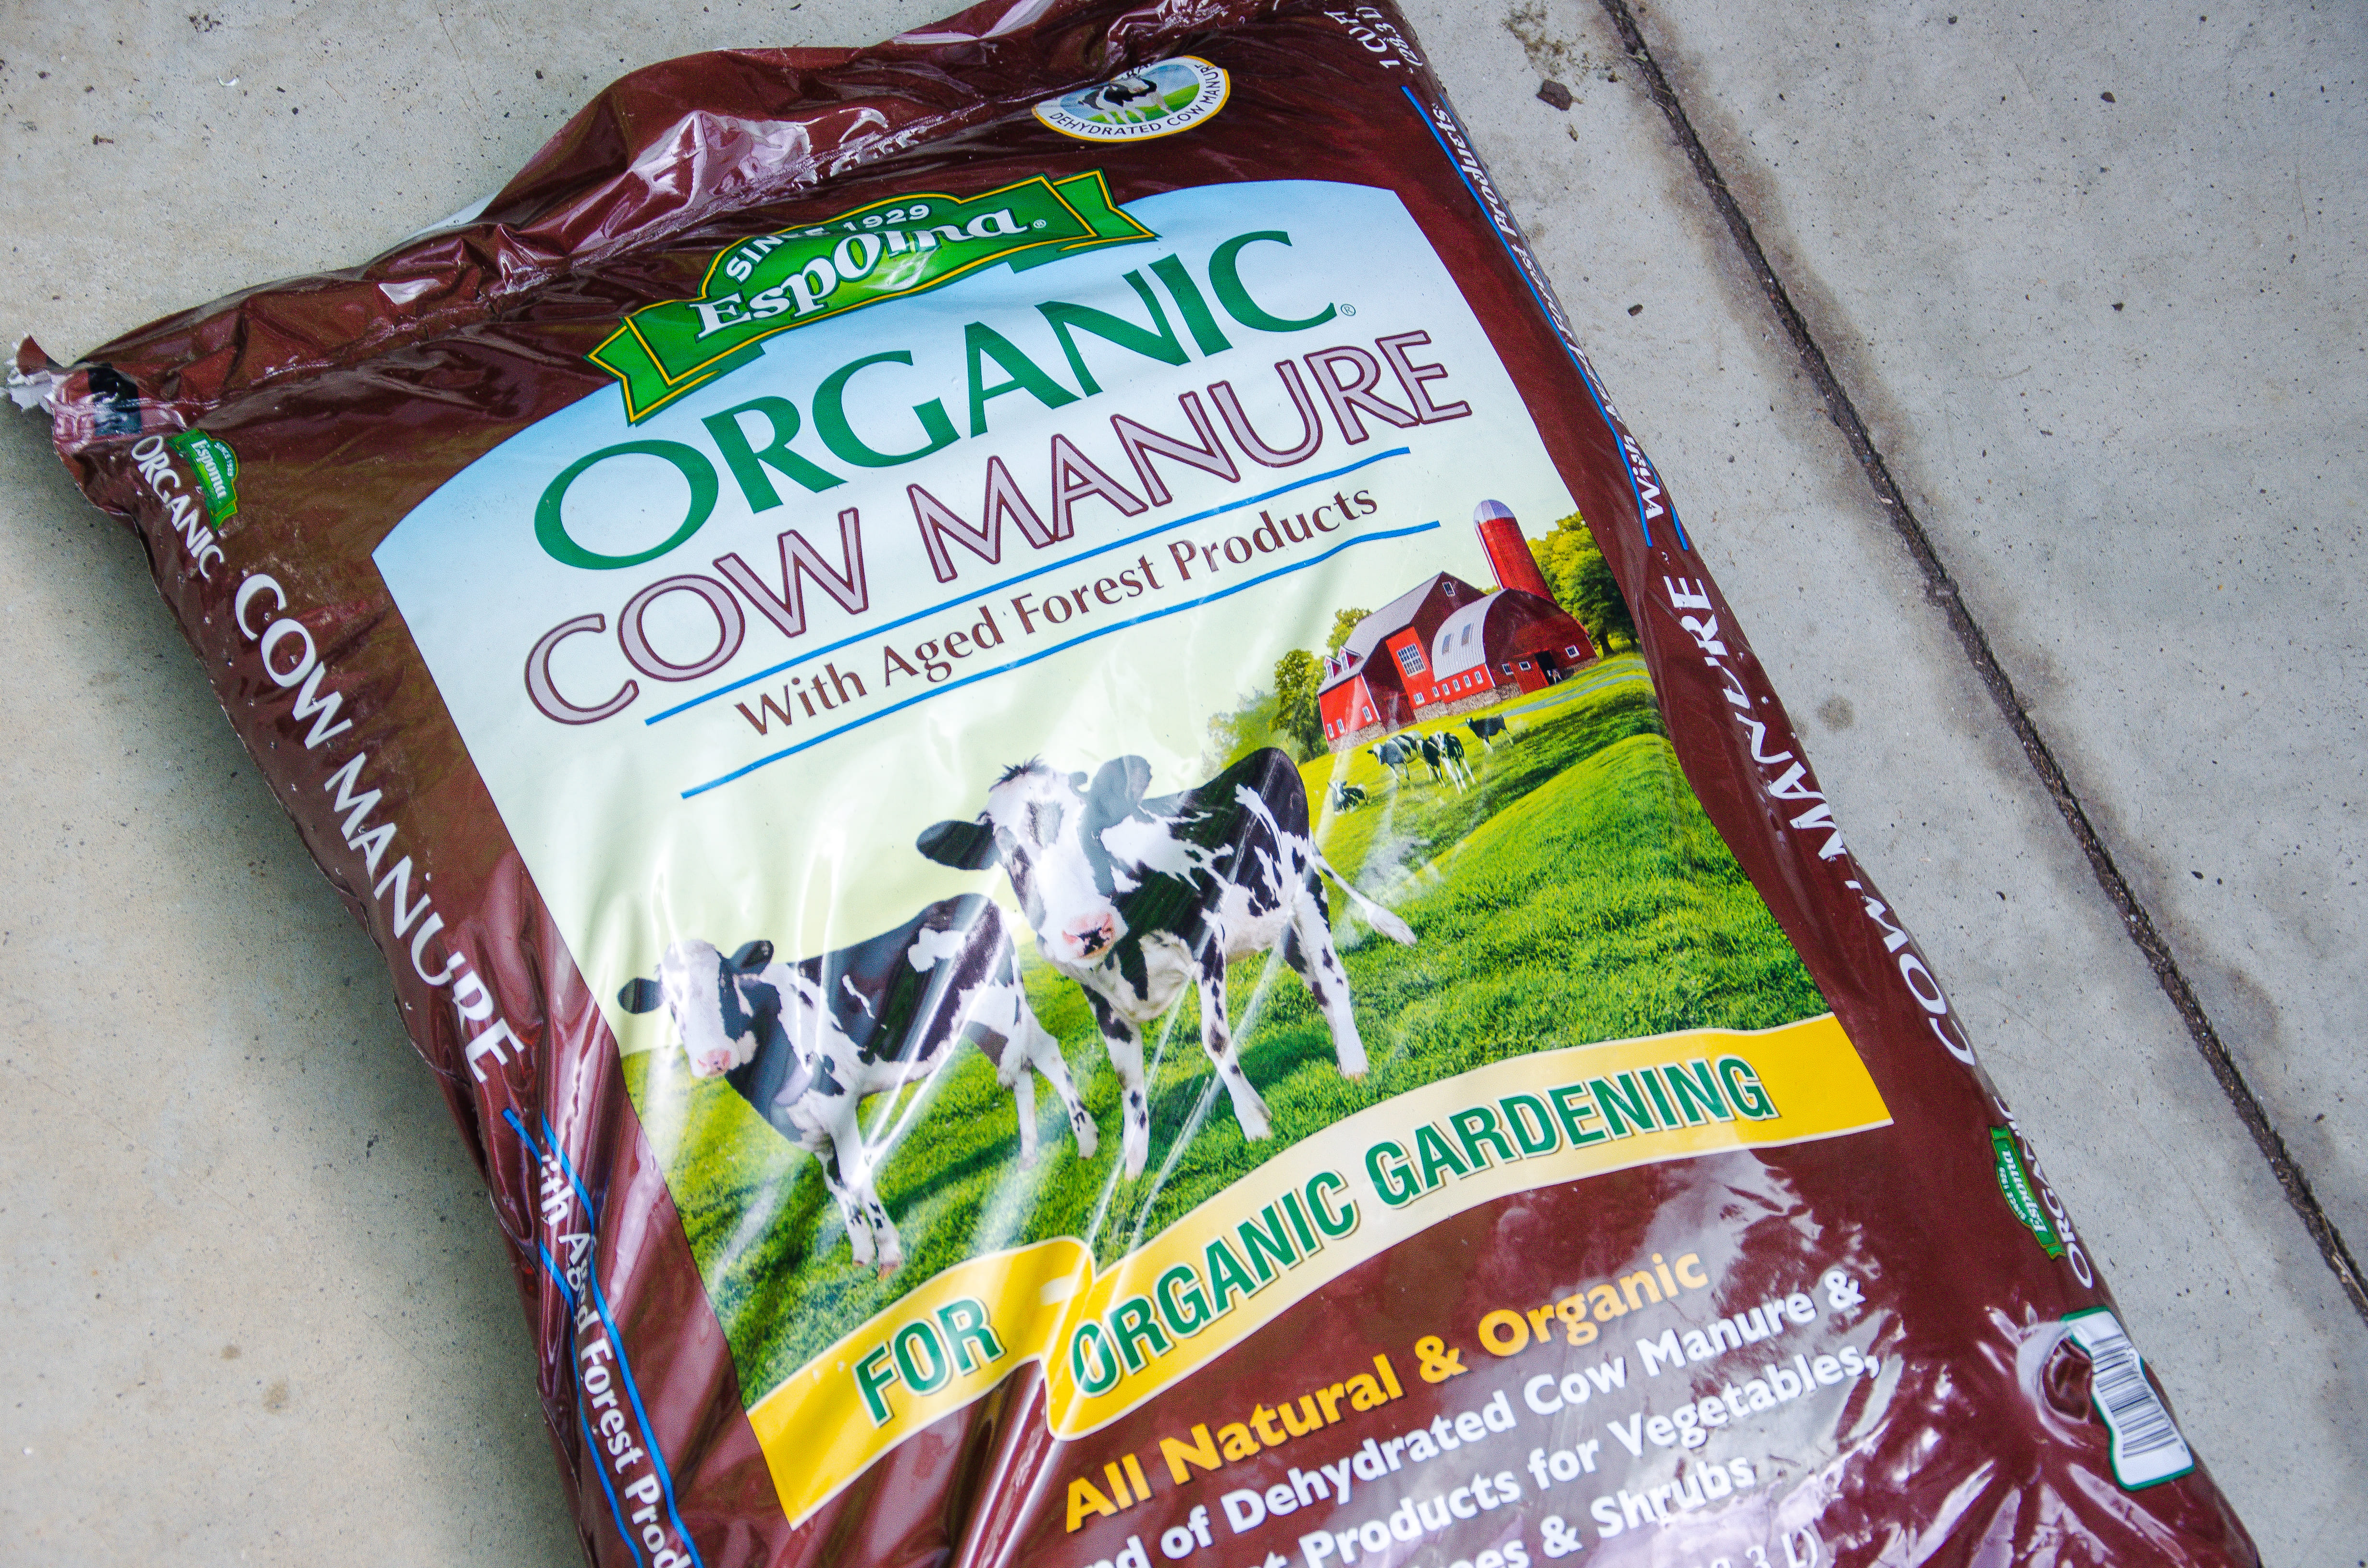
    Healthy soil = happy flowers. Loamy, well-draining soil is ideal. Raised beds help with drainage, but mounded rows work too. Layer compost thickly (6–12 inches) over cardboard to suppress weeds and build fertility. Bonus tip: ingredients like compost, peat moss, kelp, and even alpaca poop can boost your soil’s health.

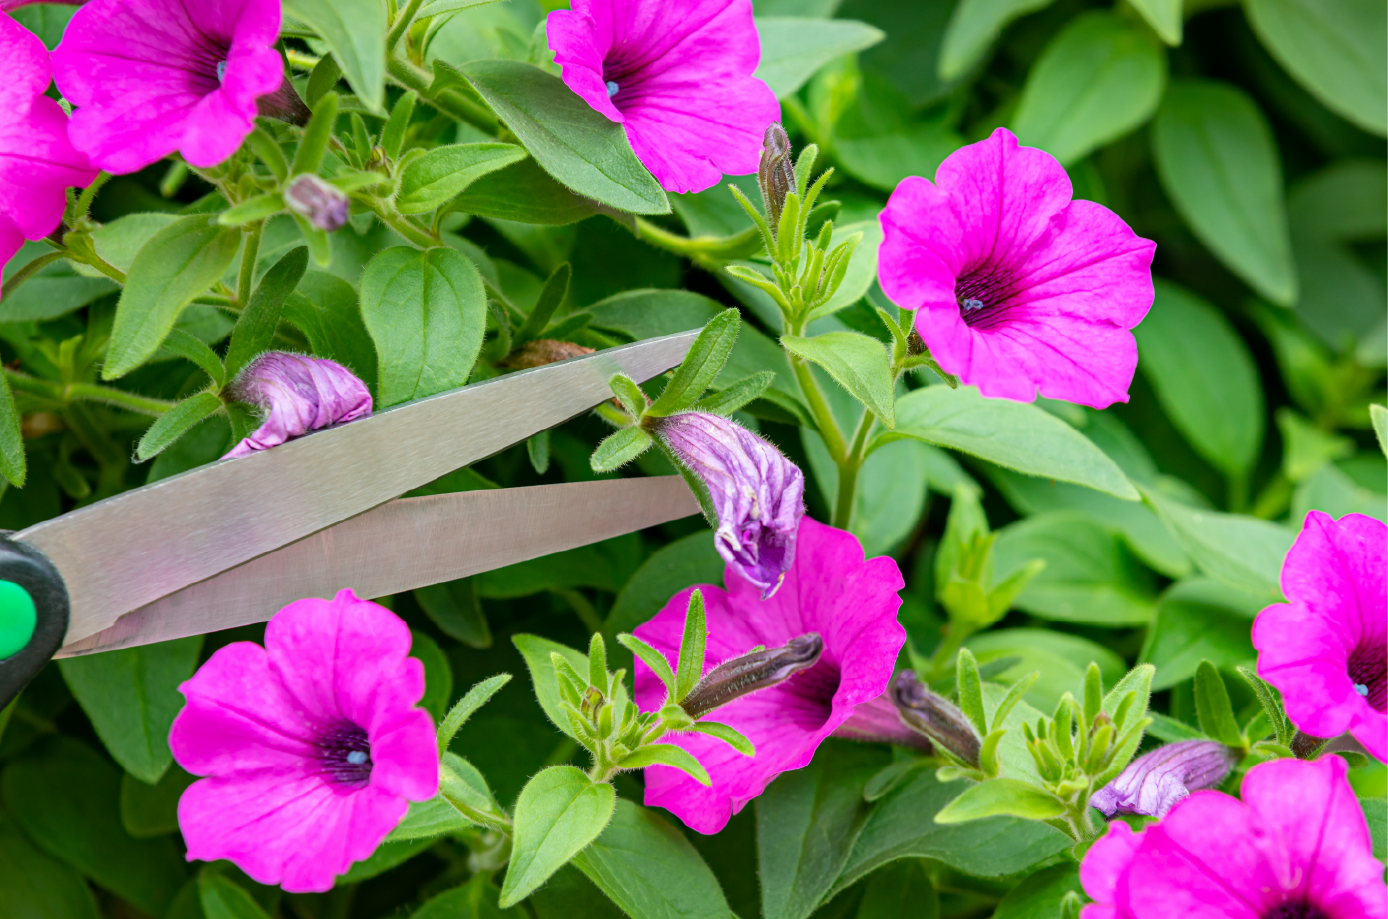
    Care and Cutting Tips

    • Pinch early: For bushier plants like zinnias, pinch them when they reach 10–12 inches tall.

    • Deadhead often: Remove spent blooms weekly to encourage more growth.

    • Harvest smart: Cut stems early in the morning or evening when they’re well hydrated, just before blooms fully open.

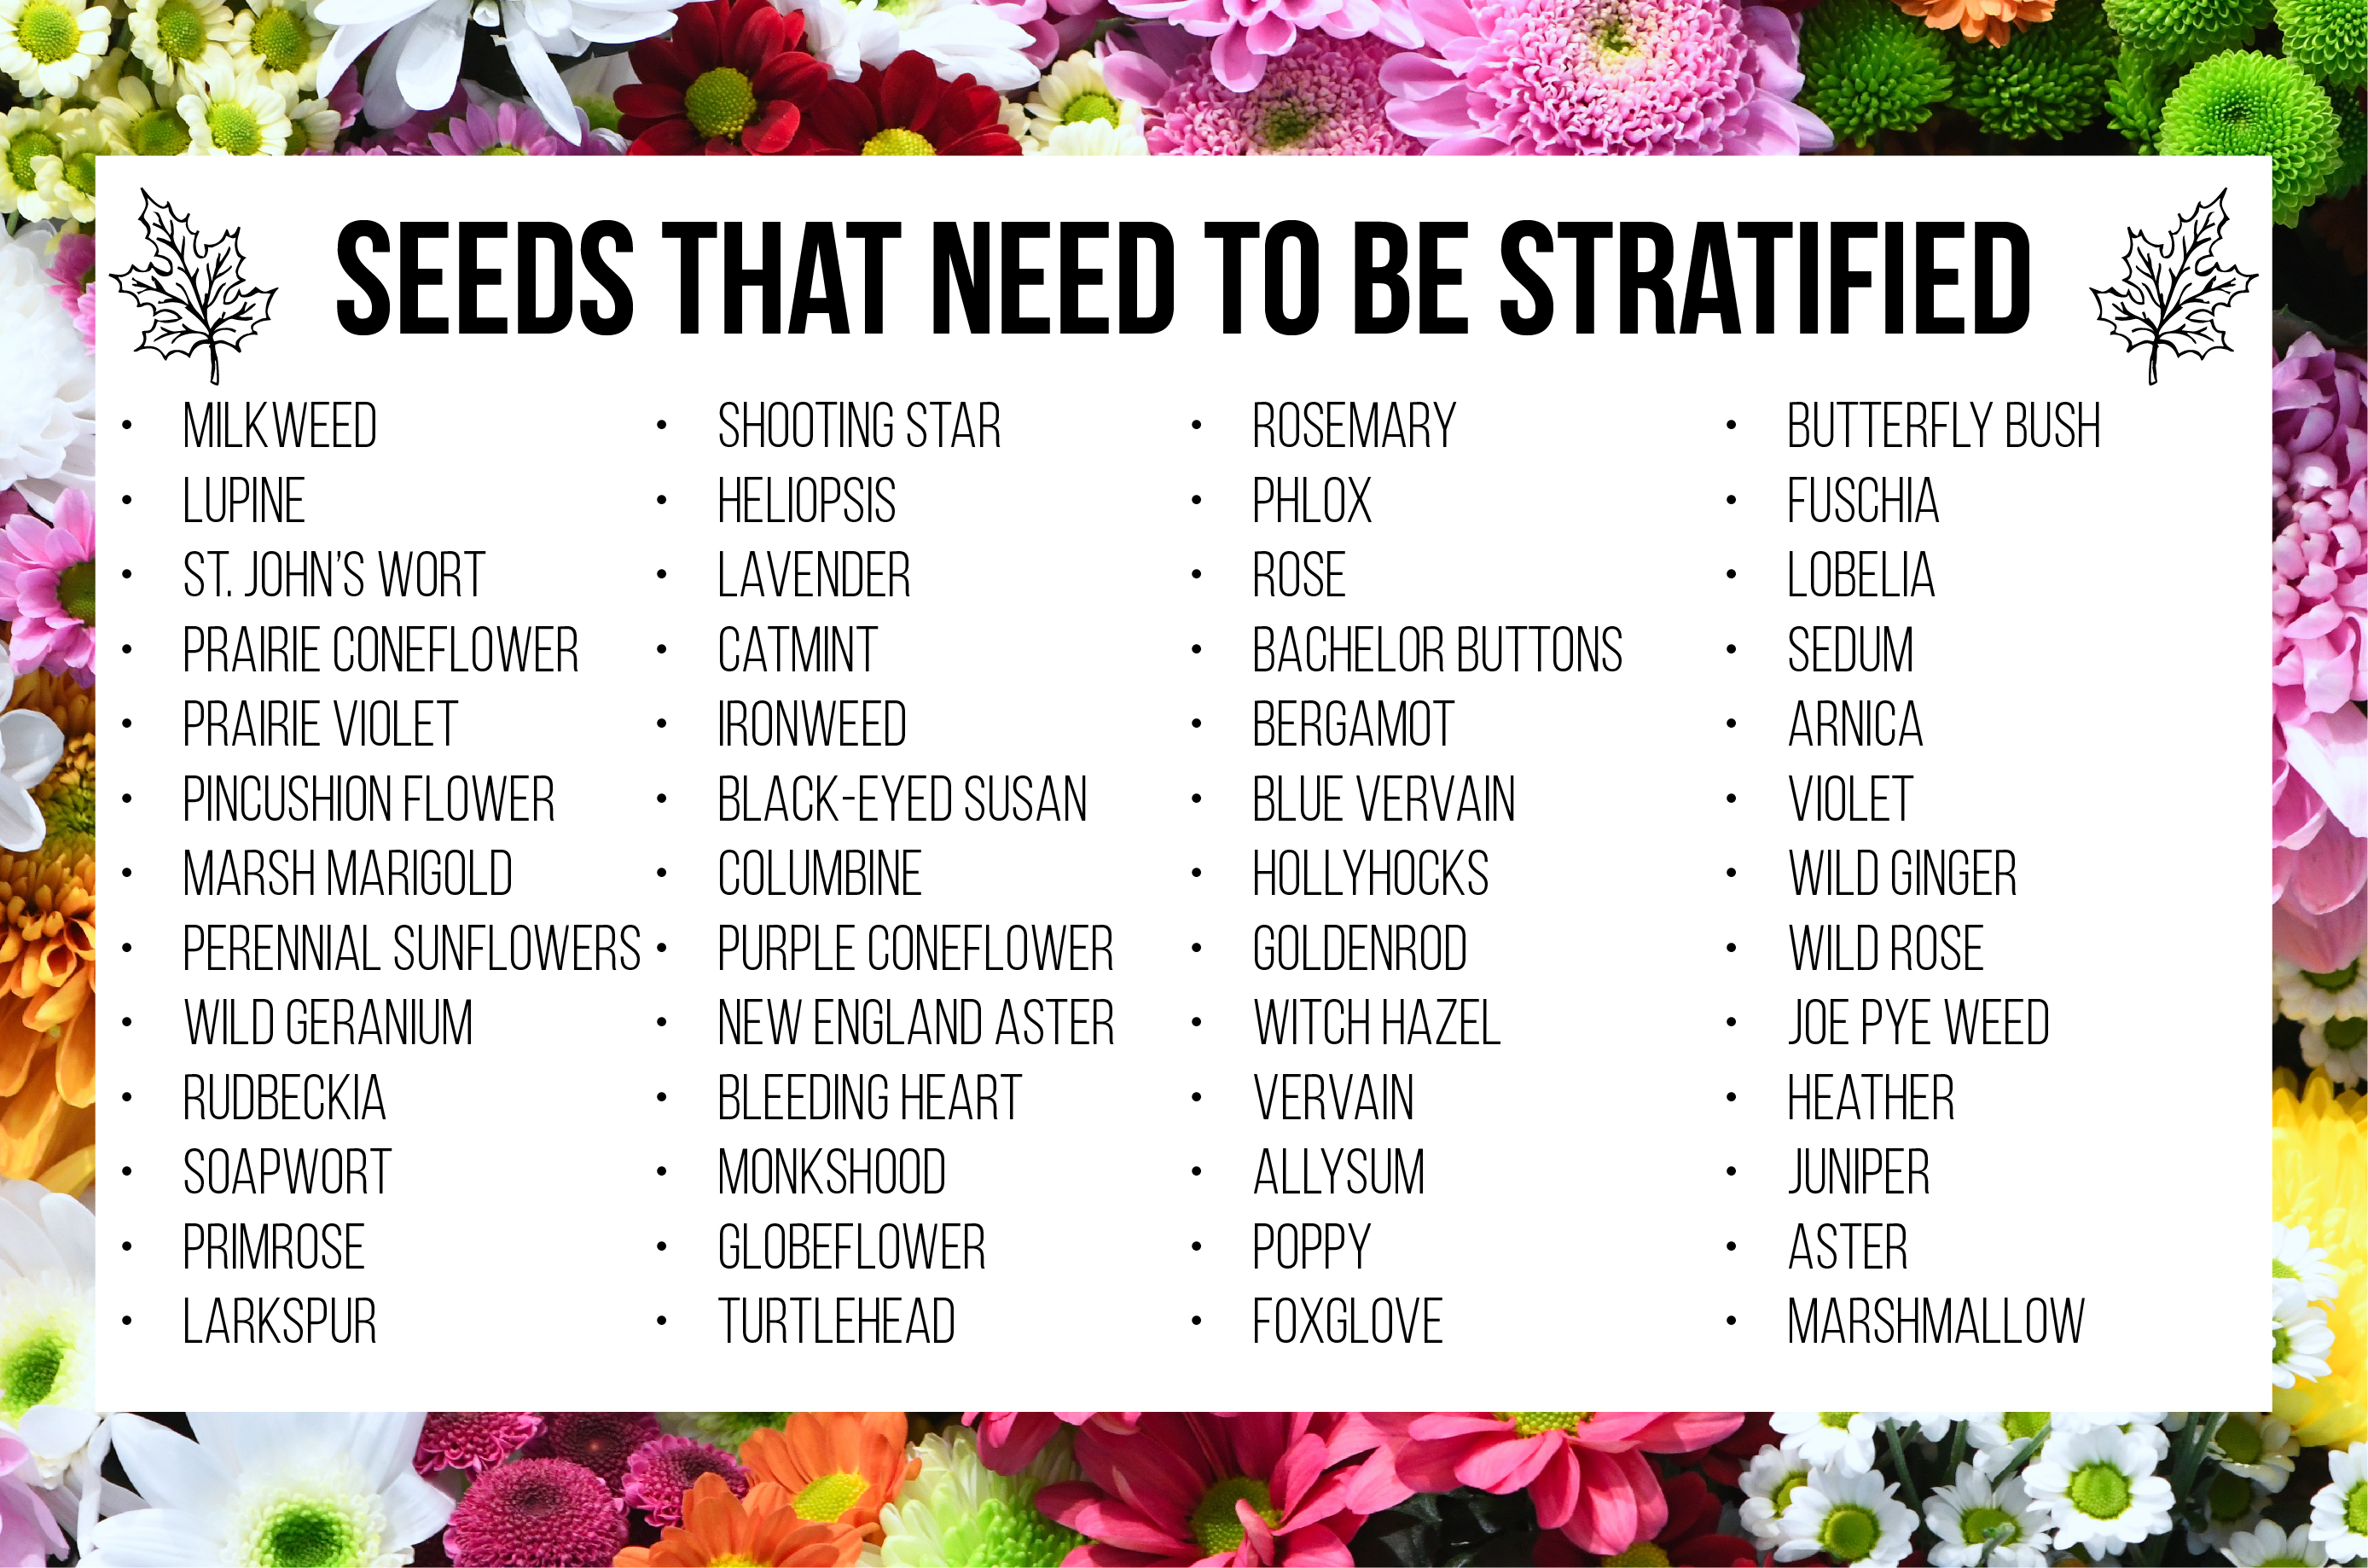
    Let some flowers go to seed at season’s end—you can save them for next year and keep the beauty blooming.

    Stay on top of deadheading to keep your cut flower garden fresh

    Conclusion

    Growing your own cut flower garden is easier than you think—and endlessly rewarding. With a little planning and a lot of love, you’ll be surrounded by blooms that brighten your home and feed your soul. So grab your gloves and get planting—your perfect bouquet is waiting to grow!

    If you have any questions that weren’t answered or need more information, feel free to stop by and see us at either the Broad St. or Mechanicsville location. You can also give us a call or drop us an email at info@stranges.com. We’re here to help you grow better! 

    Connect with Strange’s: 

    Instagram: @StrangesRVA             Facebook: @Strange’s Florist 

    Mechanicsville: 804-321-2200      West Broad: 804-360-2800 

  2. Different Types of Bird Seed

    Comments Off on Different Types of Bird Seed

    different types of bird seed

    Introduction

    Not all bird seed is created equal, and choosing the right mix can make all the difference in attracting the birds you want to your yard. From sunflower seeds to suet, each type of seed brings something unique to your feeders. Keep reading to learn about the different kinds of bird seed and how to fill your feeders with the best options for attracting a variety of backyard birds!

    Selecting the Right Feeder

    While there are different types of feeders designed for various bird species, not all feeders are made the same! By selecting a proper feeder for your yard and the avian visitors who frequent it, you can easily attract and nourish our feathered friends all winter long (and beyond!). Here is a great article to reference when identifying your backyard birds.

    Tube feeders (below, from left) are designed to attract smaller birds like chickadees, tufted titmice, white-breasted nuthatches, American goldfinches, and house finches. Tube feeders are best for black oil sunflowers, bird seed mixes, safflower seeds, or peanuts.

    Another type is the hopper feeder (below), which is best for safflower and sunflower seeds or cracked corn. This feeder will attract similar species as the tube feeder in addition to larger birds like northern cardinals, blue jays, common grackles, and red-winged blackbirds.

    Tube feeder for birdsHopper feederSuet feeder

    Suet feeders (above) are another type of bird feeder that is used with high-calorie suet cakes. These specially designed cakes come in a variety of options and are loved by woodpeckers and other insect-eating birds. Suet feeders also attract tufted titmice, white-breasted nuthatches, and chickadees as well as the occasional Carolina wren and yellow-rumped warbler.

    Another type of bird feeder is the platform feeder (above), which is used to attract species that like to feed on the ground. This includes species like dark-eyed juncos, cardinals, mourning doves, blue jays, and sparrows. However, this type of feeder is a less popular option due to how easily squirrels or other pests are able to steal food from the feeder. Therefore, if you want to use a platform feeder, consider purchasing one with an ample roof to keep out rain and snow.

    Choosing Your Bird Seed Mix

    While the type of feeder you select is important, choosing the right type of bird seed is essential to successfully attracting birds. Since different bird species have different dietary preferences, offering a variety of foods can attract a wider range of birds. Alternatively, you can select a mix with universal bird food favorites, such as black-oil sunflower seeds which are beloved by many feeder birds. However, if you want to attract specific species of birds to your feeder, purchase mixes specifically geared towards your desired visitors. Below are our top recommendations, all available for purchase in-store at Strange’s now!

    Designed For Most Species:

    Bird mixBird mix bellFruit n berry Bird mixBird mix bellBird mix

    Mixes For Songbird Species:

    Songbird nuggetsSongbird food

    Designed for Suet/Insect-Loving Species:

    Suet nuggetsBugs n berriesBugsSpecial Feeder mix

    Mixes for Specific Species:

    Woodpecker nuggetsFinch mixBluebird nuggetsfinches, woodpeckers, cardinals, and chickadees, songbird and backyard bird blend sticks

    We have sticks selected for finches, woodpeckers, cardinals, and chickadees, as well as songbird and backyard bird blends.  

    Designed to Eliminate Mess:

    mess-free mixmess-free mixsuet nuggets

    Mixes Designed to Keep Away Pests (and Attract More Birds!):

    spicy mix spicy mix spicy mixspicy mixspicy sauce

    Placing your Feeder

    Once you have selected your feeder and bird seed, select a location to place the feeder. This is crucial to how birds and other animals will receive your feeder. By placing them near natural covers, like trees or shrubs, you can provide safety for birds while allowing easy observation. We also recommended positioning feeders at different heights to accommodate different species. By strategically placing your feeders, you create an inviting feeding station that will attract a diverse array of birds.

    Be sure to regularly check on and refill your bird feeders. This is crucial to ensuring a consistent food supply for your feathered friends. Another important thing to note is that you must clean your feeders every 2 weeks. Use a scrub brush and mild detergent to scrub away debris and dry well before refilling. For the best clean, try a specially designed brush like this one (right) by Droll Yankees. To clean bird baths, scrub with a solution that is 9 parts water and 1 part vinegar.

    Conclusion

    Choosing the right feeders and food can help attract and nourish a variety of birds to your backyard. Every small effort you make supports their well-being and adds natural beauty to your surroundings. With these tips and our recommendations, you can turn your yard into a welcoming space for birds year-round!

    If you have any questions that weren’t answered or need more information, feel free to stop by and see us at either the Broad St. or Mechanicsville location. You can also give us a call or drop us an email at info@stranges.com. We’re here to help you grow better! 

    Connect with Strange’s: 

    Instagram: @StrangesRVA             Facebook: @Strange’s Florist 

    Mechanicsville: 804-321-2200      West Broad: 804-360-2800 

  3. Gardening for Savings: How Growing Your Own Pays Off

    Comments Off on Gardening for Savings: How Growing Your Own Pays Off

    Gardening for Savings

    Introduction

    In the face of rising inflation and financial struggle, many U.S. households are turning to their gardens to save money. Gardening not only offers a rewarding hobby but also provides significant economic benefits. By employing smart gardening tactics, households are combating inflation and growing their savings.

    The Popularity of Gardening

    Gardening has become a popular activity in the United States, with 55% of households, or 71.5 million, growing a garden. For many, gardening is a way to enhance their living space, with 55% of people gardening to create a beautiful environment. Additionally, 43% of gardeners focus on growing their own food, turning their backyards into mini-farms that contribute to food security and reduce grocery bills.

    Grow your own!

    Financial Benefits of Food Gardening

    One of the most compelling reasons to garden is the impressive return on investment. In 2021, the average return on food gardening investment was a staggering 757%. A modest food garden, ranging from 100 to 200 square feet, can feed one person year-round, making it a practical and economical choice for those looking to cut down on food costs. On average, a garden yields $600 worth of produce annually, which far outweighs the average spending of $70 per person per year on gardening supplies.

    Landscape Improvements and Energy Savings

    Beyond food gardening, improving your landscape can also offer economic benefits. Landscape upgrades have a return on investment of 109%, making them a worthwhile upgrade. Furthermore, planting trees strategically around your home can lead to energy savings. A 25-foot tree can reduce annual heating and cooling costs by 8-12%, providing both environmental and economic advantages.

    Energy saving

    Time Investment and Community Impact

    While the initial cost of gardening supplies can be a concern, the ongoing expenses are relatively low. Gardening households spend an average of just $70 per person per year on their hobby. Since the average U.S. gardener dedicates about five hours per week to gardening, it is a manageable and enjoyable activity that offers substantial rewards. Additionally, the gardening community is vibrant and supportive, with many sharing tips and resources to help each other succeed.

    Conclusion

    Gardening is more than just a hobby; it is a powerful tool. By investing time and effort into gardening, U.S. households can enjoy beautiful spaces, fresh produce, and significant economic benefits. Whether you are looking to reduce your grocery bills, enhance your home’s landscape, or simply enjoy a fulfilling pastime, gardening for savings is a smart and rewarding choice. Start your gardening journey today and watch your savings grow!

    If you have any questions that weren’t answered or need more information, feel free to stop by and see us at either the Broad St. or Mechanicsville location. You can also give us a call or drop us an email at info@stranges.com. We’re here to help you grow better! 

    Connect with Strange’s: 

    Instagram: @StrangesRVA             Facebook: @Strange’s Florist 

    Mechanicsville: 804-321-2200      West Broad: 804-360-2800 

  4. Seed Stratification for Springtime Sprouts

    Comments Off on Seed Stratification for Springtime Sprouts

    Seed Stratification for Springtime Sprouts

    Introduction

    Are you dreaming of a garden filled with vibrant flowers and lush greenery? The key to unlocking that dream may lie in a simple, yet often overlooked, gardening technique known as seed stratification. Whether you’re a seasoned gardener or just starting, understanding and applying this method can greatly improve the germination and overall success of your plants. In this blog post, we’ll delve into the what, why, and how of seed stratification to help you transform your garden into a thriving oasis.

    Vibrant spring flowers.

    Understanding Seed Stratification

    What is Stratification?

    Seed stratification is a natural process that prepares seeds for germination by simulating the environmental conditions they would naturally experience. Many seeds, especially those of perennial plants and trees native to temperate regions, require a period of cold and moist conditions to break their dormancy. This period mimics winter, signaling to the seeds that it’s safe to sprout once warmer temperatures return. Without this process, many seeds would remain dormant and fail to germinate, even under ideal growing conditions.

    Why is Stratification Necessary?

    In nature, seeds fall to the ground in autumn, where they are exposed to winter’s cold and moisture. This chilling period is crucial for breaking down the seed coat and other physiological barriers to germination. When gardeners collect and store seeds, these natural cues are absent, making it necessary to manually simulate the winter experience through stratification. However, if you plan to plant in spring, you need to stratify the seed before sowing outdoors. By understanding and replicating these natural processes, we can significantly improve our chances of successful germination and a thriving garden.

    Little sprouts!

    The Stratification Process

    • Selecting Seeds: Before beginning, it’s important to identify which seeds require stratification. Seeds are typically stratified in one of two ways; dry stratification or moist stratification. Research your plant species to determine if and what type of stratification is done. Here are some common varieties that DO require stratification:

      Stratified seeds

    • Dry Stratification: Dry stratification is the process of subjecting seeds to cold temperatures for a month or longer before planting to mimic a natural winter dormant period. We recommend storing your seeds in your refrigerator, or an unheated building for 30-120 days, or as recommended for your plant species.
    • Moist Stratification: Moist stratification is the process where seeds are mixed with a moistened substrate (fresh sawdust, builder’s sand, vermiculite, peat moss, or similar material)
    • and stored cold for ten days to three months. This process mimics the cold, damp winter conditions that seeds experience naturally when planted outside during fall. Therefore, it is not necessary to use this pretreatment for a seed planted in the fall (direct seeding) as dormancy will be broken naturally in the soil over winter.
      • To begin this process, start by moistening a sterile medium like sand, vermiculite, or peat moss. The medium should be damp but not soaked. Mix your seeds with this medium in a plastic bag or container.
      • Next, place your container in the refrigerator for 1 month before planting. If your seedlings start to sprout while in the refrigerator, remove them immediately and plant them in the ground or pots until it’s time to plant outdoors. 
    • Planting: After completing the stratification process, plant your seeds according to their specific needs regarding soil type, depth, and spacing. Also, water the area well, as all direct seedings in spring or early summer, pre-treated or not, benefit from extra water during the first two months after seeding. 

    Planting!

    Tips and Tricks for Successful Stratification

    • Label your containers with the seed type and date to keep track of the stratification period.
    • Check the seeds periodically for signs of germination or mold.
    • Be patient and flexible; some seeds may require adjustments to their stratification period based on their response.

    Conclusion

    Seed stratification may seem like an extra step in the gardening process, but it’s a critical one for many plants. By mimicking the natural cycles of seasons, we can encourage a wider variety of plants to thrive in our gardens. Remember, gardening is not just about planting and watering; it’s about understanding and working with nature’s rhythms. With the knowledge of seed stratification, you are ready to bring even the most stubborn seeds to life. Happy gardening!

    If you have any questions that weren’t answered or need more information, feel free to stop by and see us at either the Broad St. or Mechanicsville location. You can also give us a call or drop us an email at info@stranges.com. We’re here to help you grow better! 

    Connect with Strange’s: 

    Instagram: @StrangesRVA             Facebook: @Strange’s Florist 

    Mechanicsville: 804-321-2200      West Broad: 804-360-2800 

  5. Feeding Birds in Winter

    Comments Off on Feeding Birds in Winter

    How to feed the birds this winter

    Introduction

    The colder months can be a challenging time for our feathered friends as natural food sources become scarce. Providing nourishment and a safe haven for birds during winter not only helps them survive but also brings joy to any backyard. Keep reading to explore how to feed birds during winter and the essential products available at Strange’s!

    Selecting the Right Feeder

    While there are different types of feeders designed for various bird species, not all feeders are made the same! By selecting a proper feeder for your yard and the avian visitors who frequent it, you can easily attract and nourish our feathered friends all winter long (and beyond!). Here is a great article to reference when identifying your backyard birds.

    Tube feeders (below, from left) are designed to attract smaller birds like chickadees, tufted titmice, white-breasted nuthatches, American goldfinches, and house finches. Tube feeders are best for black oil sunflowers, mixed seed mixes, safflower seeds, or peanuts.

    Another type is the hopper feeder (below), which is best for safflower and sunflower seeds or cracked corn. This feeder will attract similar species as the tube feeder in addition to larger birds like northern cardinals, blue jays, common grackles, and red-winged blackbirds.

    Tube feeder for birdsHopper feederSuet feeder

    Suet feeders (above) are another type of bird feeder that is used with high-calorie suet cakes. These specially designed cakes come in a variety of options and are loved by woodpeckers and other insect-eating birds. Suet feeders also attract tufted titmice, white-breasted nuthatches, and chickadees as well as the occasional Carolina wren and yellow-rumped warbler.

    Another type of bird feeder is the platform feeder (above), which is used to attract species that like to feed on the ground. This includes species like dark-eyed juncos, cardinals, mourning doves, blue jays, and sparrows. However, this type of feeder is a less popular option due to how easily squirrels or other pests are able to steal food from the feeder. Therefore, if you want to use a platform feeder, consider purchasing one with an ample roof to keep out rain and snow.

    Choosing Your Seed Mix

    While the type of feeder you select is important, choosing the right type of bird food is essential to successfully attracting and nourishing winter birds. Since different bird species have different dietary preferences, offering a variety of foods can attract a wider range of birds. Alternatively, you can select a mix with universal bird food favorites, such as black-oil sunflower seeds which are beloved by many feeder birds. However, if you want to attract specific species of birds to your feeder, purchase mixes specifically geared towards your desired visitors. Below are our top recommendations, all available for purchase in-store at Strange’s now!

    Designed For Most Species:

    Bird mixBird mix bellFruit n berry Bird mixBird mix bellBird mix

    Mixes For Songbird Species:

    Songbird nuggetsSongbird food

    Designed for Suet/Insect-Loving Species:

    Suet nuggetsBugs n berriesBugsSpecial Feeder mix

    Mixes for Specific Species:

    Woodpecker nuggetsFinch mixBluebird nuggetsfinches, woodpeckers, cardinals, and chickadees, songbird and backyard bird blend sticks

    We have sticks selected for finches, woodpeckers, cardinals, and chickadees, as well as songbird and backyard bird blends.  

    Designed to Eliminate Mess:

    mess-free mixmess-free mixsuet nuggets

    Mixes Designed to Keep Away Pests (and Attract More Birds!):

    spicy mix spicy mix spicy mixspicy mixspicy sauce

    Placing your Feeder

    Once you have selected your feeder and bird seed, select a location to place the feeder. This is crucial to how birds and other animals will receive your feeder. By placing them near natural covers, like trees or shrubs, you can provide safety for birds while allowing easy observation. We also recommended positioning feeders at different heights to accommodate different species. By strategically placing your feeders, you create an inviting feeding station that will attract a diverse array of winter birds. Additionally, setting up the feeders now will allow birds time to locate their positions before harsh weather arrives.

    Be sure to regularly check on and refill your bird feeders. This is crucial to ensuring a consistent food supply for your feathered friends. Another important thing to note is that you must clean your feeders every 2 weeks. Use a scrub brush and mild detergent to scrub away debris and dry well before refilling. For the best clean, try a specially designed brush like this one (right) by Droll Yankees. To clean bird baths, scrub with a solution that is 9 parts water and 1 part vinegar.


    Beyond Bird Food: Other Notes

    Shelter and Water

    It is incredibly important to provide water to birds during the winter, especially when natural water sources have frozen. Place a sturdy birdbath in a sunny area to be visible to birds and hopefully prevent freezing. We offer heated birdbaths and de-icing rocks for when temps drop really low!

    de-icer electric rockheated birdbath

    Apart from food and water, birds need shelter during harsh weather. Trees and shrubs offer natural cover and perching spots, and birdhouses or nest boxes add additional shelter. By creating a sanctuary of shelter, you can encourage birds to visit and stay in your backyard.

    Conclusion

    By choosing the right feeders and food, placing your feeder strategically, and offering shelter and water, you can help your feathered friends survive the harsh winter. Remember, every effort you put into feeding and caring for these beautiful creatures contributes to their well-being and brings a touch of natural wonder to your surroundings. By following these guidelines and utilizing our recommendations, you can transform your backyard into a haven that welcomes and sustains a diverse range of winter birds.

    If you have any questions that weren’t answered or need more information, feel free to stop by and see us at either the Broad St. or Mechanicsville location. You can also give us a call or drop us an email at info@stranges.com. We’re here to help you grow better! 

    Connect with Strange’s: 

    Instagram: @StrangesRVA             Facebook: @Strange’s Florist 

    Mechanicsville: 804-321-2200      West Broad: 804-360-2800 

  6. Landscaping Solutions for Sloped Yards

    Comments Off on Landscaping Solutions for Sloped Yards

    Landscaping Solutions for Sloped Yards

    Introduction

    Landscaping a sloping yard presents a unique set of challenges. Unlike flat terrains, slopes require careful planning and consideration to ensure functionality and aesthetic appeal. There is no one-size-fits-all solution for sloping yard design due to various factors such as the severity of the slope, potential drainage issues, and budget constraints. In this blog post, we will explore a range of landscaping techniques for transforming a sloping yard into a beautiful and functional outdoor space.

    Beautifully landscaped slope with retaining walls, steps, and groundcover plants.

    Landscaping Solutions for Slopes

    Terraces

    Terraces offer a visually appealing solution for a sloping yard. By creating step-down levels, they effectively mitigate runoff, preventing erosion and preserving the integrity of your landscape. This approach is perfect for yards where the goal is to prevent runoff from reaching driveways and walkways. However, it’s important to consider how you intend to use the space. While terraces are great at preventing erosion, they may not be ideal for creating a play area for children or pets.

    Grading

    For those seeking to maximize the functionality of their sloping yard, grading is the ideal technique. By skillfully leveling out portions of the yard, a landscaper can create additional usable space, expanding the potential of your outdoor area. However, it’s crucial to approach grading with caution. Improperly executed grading can lead to drainage issues that potentially worsen the problems it was meant to solve. In many cases, retaining walls may be necessary to ensure the success and stability of this approach.

    Retaining Walls

    Functional and aesthetic retaining walls serve a dual purpose in sloping yard landscaping. They hold soil in place to prevent erosion, while also contributing to the overall visual appeal of your property. When installing retaining walls, consider the choice of material, appropriate height and length, and drainage. Done correctly, retaining walls can be instrumental in transforming a challenging slope into a stunning, multi-tiered garden oasis.

    Planting on Slopes

    Integrating various landscaping solutions is often the key to effectively managing a slope. Groundcovers play a pivotal role in this by enhancing the effectiveness of other techniques. Whether it’s terraces, grading, or retaining walls, groundcovers act as a stabilizing force, preventing erosion and adding a layer of natural beauty to the landscape. By strategically incorporating groundcovers, you create a cohesive and harmonious design that addresses the challenges of a sloping yard and elevates its overall appeal. Opting for deep-rooted varieties is essential for effective erosion control, anchoring the soil, and resisting runoff. If a slope is difficult to navigate, selecting low-maintenance plant varieties is crucial. A thoughtful combination of plant selection and accessibility planning ensures a thriving, sustainable slope landscape.

    Beautifully landscaped slope featuring lots of gorgeous groundcover plants.

    Creating Your Landscape

    Making a Plan

    Before beginning your transformation, it’s essential to conduct a thorough assessment of your landscape. This involves evaluating the grade of the slope, the type of soil, and the drainage conditions. Steep slopes can also be challenging to navigate, so pathways and stairs may be necessary to make regular upkeep manageable. For complex projects, consulting with landscape professionals is highly recommended. Their expertise can provide valuable insights and ensure that your vision is executed with precision. A well-thought-out plan is the cornerstone of any successful landscape project.

    Selecting Suitable Plants

    Selecting the right plants is important for a thriving hillside garden. Opt for varieties with deep-root systems that will anchor the soil and prevent erosion. Consider the light conditions of your slope, noting how the sun moves over the area throughout the day. To create a visually dynamic landscape, diversify your plant selection. Incorporate groundcovers, perennials, trees, and shrubs to add depth and interest to your sloping yard. Check out our list below with the top recommendations for native Virginia groundcovers.

    Best Native VA Groundcover Plants

    Maintaining Your Landscape

    Ensuring the longevity and vitality of your sloping yard requires consistent maintenance. Start with durable materials and high-quality soil. Applying mulch helps to suppress weeds, retain moisture, and reduce the need for frequent upkeep. Opt for low-maintenance plant varieties that require minimal pruning, fertilizing, and watering. Implementing efficient irrigation, such as drip systems, ton ensure that water is distributed evenly and effectively.

    Beautifully landscaped slope with retaining walls, grass, and lush groundcover plants.

    Conclusion

    In conclusion, successful slope landscaping relies on making a thoughtful plan. Using groundcovers in your design is pivotal to stabilizing the terrain and adding natural, versatile beauty. Embrace the challenge of your sloping yard as an opportunity to create a unique, functional, and visually captivating outdoor space, and you’re ready for a remarkable makeover. Happy landscaping!

    If you have any questions that weren’t answered or need more information, feel free to stop by and see us at either the Broad St. or Mechanicsville location. You can also give us a call or drop us an email at info@stranges.com. We’re here to help you grow better! 

    Connect with Strange’s: 

    Instagram: @StrangesRVA             Facebook: @Strange’s Florist 

    Mechanicsville: 804-321-2200      West Broad: 804-360-2800 

  7. All About Mulch

    Comments Off on All About Mulch

    All about mulch!

    Introduction

    Mulching is integral to gardening, offering numerous benefits such as moisture retention, weed suppression, and soil improvement. However, deciding whether to mulch in spring or fall depends on various factors. In this blog post, explore the pros and cons of spring mulching versus fall mulching and discuss different types of mulch and their advantages and drawbacks.

    Why use mulch?

    Mulch is hailed as essential to the gardening process, but why? Here are a few reasons:

      • Adds Curb Appeal: Mulching enhances the aesthetics of your house and landscaping by providing a polished appearance to your garden beds. Many mulches even come in various colors to match your existing design.
      • Improves Soil Quality: Organic mulches such as wood chips enrich the soil with valuable organic matter as they break down and are consumed by microbes and insects.
      • Regulates Soil Temperature: Mulch acts as an insulator, which helps maintain optimal soil temperatures in both summer and winter. This feature is crucial for new plantings done in the fall that are still fragile when temperatures begin to lower.
      • Helps Conserve Moisture: Mulch helps slow the evaporation of moisture in the soil and reduces the need for frequent watering.
      • Weed Prevention: Adding a 2-3 inch layer to your garden naturally inhibits weed growth by blocking sunlight and other nutrients.
      • Prevent Soil Erosion: Mulch creates a barrier between topsoil and the detrimental effects of rain, wind, and other elements.

    Fall vs. Spring Mulching

    While many gardeners choose to mulch in the spring for the reasons listed above, there may be additional benefits to fall mulching:

      • Soil Enrichment: Mulching with organic content will always help improve soil quality, but mulching in the fall allows vital nutrients to enter warm soil more easily. Fall mulching will also lead to less soil erosion from wintertime rain and snow and healthier shoots and blooms in spring.
      • Winter Protection: Fall mulch provides a barrier against harsh winter conditions, insulating soil and roots and preventing freeze damage or frost heave. This insulation will also protect the helpful organisms in your garden, such as earthworms, from harsh winter weather.
      • Time-Saving: While spring is typically the busiest time of year, fall offers a lighter list of to-dos. Mulching in the fall eases the long list of spring tasks.
      • Ideal Temperature: Cooler fall weather makes mulching a more pleasant chore and allows you to relish the comfortable fall temperatures before winter. Mulching in the fall also helps to regulate soil temperature when fall weather (predictably) has swings in temperature.
      • Keep Evergreens Green: Mulching the soil of your evergreens will prevent them from drying and turning brown in the winter.
      • Preserve Perennials: By adding a layer of mulch around the stalks and roots of perennials, they will be protected against winter weather and be more likely to return.

    However, there are also a few potential drawbacks to fall mulching:

      • Temperature: Covering the soil with mulch may affect how quickly soil temperatures drop, which leads to new, unsuspecting growth being damaged by winter weather.
      • Moisture: Fall mulching keeps the soil wet, which can lead to root rot and plant death.

    When is mulching right for my garden?

    All in all, there are many differing opinions on the optimal time to mulch. While many gardeners agree spring is the optimal time, it is best to consider your own needs and wants for your garden when deciding.

    Spring may be the best time for you if…

    • You care most about reducing the annual weeds in your garden.
    • You want a fresh and clean spring look.
    • You are patient enough to wait until mid-spring when soil temperatures warm up.

    Fall may be the best time for you if…

    • You are super busy with other garden tasks in the spring.
    • You are not as concerned with aesthetics, as mulching in the fall may cause color to dull by spring.
    • You live in an area with a super cold winter.

    Types of Mulch

    Once you decide on when to mulch, you can consider which variety to use. There are two main types of mulch: organic and inorganic. Organic mulch is a natural mulch without any additional synthetics. Organic mulch is best for adding nutrients to your soil and suppressing weeds, but it may not block weeds fully. Inorganic mulch is a synthetic mulch without any natural ingredients. Inorganic mulch is best for preventing weeds completely and retaining water but does not add any nutrients to the soil. Organic soil is likely your best bet due to its nutritional properties, but there are a few varieties to consider:

      • Bark Mulch: Suitable for trees, shrubs, or areas where you will not dig frequently. Lasts longer than other organic mulches; does not mix well with soil.
      • Pine Needles: A good choice for weed suppression and moisture retention; adds slight acidity to the soil.
      • Grass Clippings: Best for weed control in remote areas but decompose rapidly.
      • Newspaper: Effective at smothering weeds and retaining moisture. Cover with another type of organic mulch after placing.
      • Dry, Shredded Leaves: A free and versatile option suitable for various garden types, can attract more earthworms than other types.
      • Straw and Salt Hay: Ideal for vegetable gardens and preventing soil splashing on plants.

    Mulches with smaller particles, such as leaves or pine/straw will break down faster than others. This property is suitable for mulch used in the fall season.

    Conclusion

    In conclusion,  spring and fall mulching both have benefits depending on your specific garden needs and preferences. Spring mulching is excellent for a clean look and weed control, while fall mulching enriches the soil and protects plants during winter. Select the right type and season based on your gardening goals, and enjoy the benefits it brings to your landscape! Remember to maintain a 3-inch depth and avoid excessive buildup for optimal results.

    If you have any questions that weren’t answered or need more information, feel free to stop by and see us at either the Broad St. or Mechanicsville location. You can also give us a call or drop us an email at info@stranges.com. We’re here to help you grow better! 

    Connect with Strange’s: 

    Instagram: @StrangesRVA             Facebook: @Strange’s Florist 

    Mechanicsville: 804-321-2200      West Broad: 804-360-2800 

  8. Psychology of Color

    Comments Off on Psychology of Color

    Introduction

    Flowers have been used for centuries to communicate without words. Colors hold a special significance in this non-verbal language. Each color evokes distinct responses, creating a unique emotional impact. In this blog post, we will explore the fascinating psychology of color in flowers and arrangements, helping you harness the power of colors to create the perfect ambiance in your home.

    Psychology of Color

    Red

    The color red symbolizes passion, love, and desire. It is traditionally associated with intense emotions, romance, and affection. Additionally, red can symbolize respect and courage. Its vibrant and bold nature quickly captures attention, making it an ideal choice for expressing strong feelings or making a statement. Commonly, red flowers can be used to convey love, especially in romantic settings, but they can also signify admiration and courage in various situations. This uplifting color is perfect for eye-catching arrangements that leave a lasting impression.

    Pink

    Pink represents a gentler form of love compared to the fiery red. It is associated with springtime, innocence, and new beginnings, making it a popular choice for weddings and baby showers. Pink flowers can also symbolize happiness, femininity, and innocence. They are perfect for conveying the desire to build something special in the early stages of a relationship. Additionally, pink flowers serve as a beautiful way to express gratitude on any occasion. Consider adding pink flowers to areas where you want to infuse a fresh and delicate touch.

    Orange

    The color orange exudes feelings of optimism and enthusiasm. The color can also symbolize hope, inspiration, friendship, and creativity. Orange flowers are an excellent choice for gifting to someone who may need cheering up or to celebrate success and achievements. Like red, orange is an uplifting color that adds vibrancy to any room. Embrace this vibrant hue to bring joy and zest into your spaces.

    Yellow

    The color yellow represents positivity, freshness, happiness, and warmth. It symbolizes playfulness and platonic love. Historically, yellow flowers were linked to wealth, good health, and respect. Like orange and red, yellow is a highly uplifting color. Yellow flowers are perfect for expressing gratitude and lifting spirits. These flowers are ideal for friendly get-togethers or cheering up someone in need of a boost. Place yellow flowers in visible spots to brighten your day every day.

    Green

    Green symbolizes growth, fertility, harmony, youthfulness, and renewal. It is also associated with money, wealth, and luck. Green also helps alleviate anxiety and negative emotions. Incorporate green flowers into arrangements to signify well wishes for a fresh start, and create spaces that promote calmness and positivity. Bring green blooms into your space to infuse serenity into your environment.

    Blue

    Blue represents freedom, imagination, tranquility, and loyalty. It historically symbolized wisdom as well. Blue flowers are also among the most relaxing, making them ideal for creating peaceful atmospheres. Blue flowers can be included in bouquets to send well wishes and are a popular choice for spa and wellness environments, as well. Embrace the calming power of blue flowers to create a serene and soothing ambiance in your space.

    Purple

    Purple flowers are symbolic of regality, elegance, success, and wisdom. Additionally, they represent creativity, luxury, and maturity. Purple flowers also uplift spirits and increase sensitivity, making them suitable for celebrating life-changing events like weddings, graduations, anniversaries, and retirements. With an enchanted and majestic quality, purple flowers add elegance to any setting. Use them to create a sense of grandeur in your environment.

    White

    These flowers symbolize innocence, spirituality, rebirth, clarity, and peace. White flowers also have relaxing and uplifting qualities. Also, white blooms are a popular choice for weddings, graduations, anniversaries, and other special occasions to express respect and sympathy. The serene and elegant aura of white flowers adds a touch of sophistication to any setting.

    Conclusion

    The psychology of color in flowers and arrangements is a captivating realm that speaks to our emotions and creates meaningful connections. Each hue carries its unique symbolism, influencing the atmosphere and emotions of the space it inhabits. By understanding the psychology behind these colors, you can artfully utilize them to express love, create tranquility, inspire optimism, and uplift spirits. So, the next time you’re selecting flowers or creating a floral arrangement, consider the psychology of color!

    If you have any questions that weren’t answered or need more information, feel free to stop by and see us at either the Broad St. or Mechanicsville location. You can also give us a call or drop us an email at info@stranges.com. We’re here to help you grow better! 

    Connect with Strange’s: 

    Instagram: @StrangesRVA             Facebook: @Strange’s Florist 

    Mechanicsville: 804-321-2200      West Broad: 804-360-2800 

  9. How To Make Your Own Fairy Garden

    Comments Off on How To Make Your Own Fairy Garden

    Fairy garden made by Strange's.

    How To Make Your Own Fairy Garden

    Fresh blooms and warm weather make spring the perfect time to experiment with new garden projects. One of our favorite trends of late is fairy gardens, also called miniature gardens. These tiny worlds have become a huge in the gardening community due to how easy they are to create, and how enchanting they can be! Often featuring live plants and small trinkets and statues, these decorative miniature gardens are the perfect project for children and adults alike. Beyond the fun, fairy gardens can be a great early start to learning in the garden, and digging in the dirt has many researched benefits for children and adults — including stress and anxiety relief and increased life satisfaction. We’ve got everything you could need to make a fairy garden at Strange’s, so keep reading to learn how to make your own!

    Choosing a Container + Theme

    Container options at Strange's.

    The first step in creating your own fairy garden is to decide what container or space you will grow your fairy garden in. Fairy gardens can be grown both indoors and out, but we recommend indoor spaces so that you can enjoy your garden all year long. In terms of selecting a container, the only criteria are that your choice measures at least six inches deep, has drainage holes, and is approximately 14 inches across to ensure enough space for your garden’s design. Glass bowls, flowerpots, or terrariums all work well, but almost any container can be a home for your garden; the more creative the better! Some of our unexpected favorites include teapots, wagons, or tin buckets.

    After selecting a container to house your garden, you can move on to planning the theme and layout of your design. Deciding on an overall style or look will help determine which plants and accessories you will use to decorate your fairy garden. Don’t let this step be too daunting; use your imagination! Whether you decide to go for a beachscape, a cottage garden, or a woodland wonderland, the sky is truly the limit when it comes to decorating your own fairy garden. Once you have a general idea of the vibe and layout of your garden, you can begin to collect the materials needed to scape your scene.

    Building Your Garden

    Plant options at Strange's.

    To construct your garden, you will need:

      • Mini Gardening trowel 
      • Potting soil: we recommend a standard potting mix; avoid moisture control and planting mix.
      • Small plants and succulents: look for low-growing and small-leaf plants that will be easy to grow and maintain.
        • Examples: ferns, peperomias, succulents, small bonsai trees, ivy, or moss.
      • Accessories: fairies, gnomes, benches, birdhouses, animals, other bought/DIY miniatures.
      • Other decorative objects: stones, pebbles, marbles, sea glass, twigs, popsicle sticks, pinecones, etc.
      • Optional: gravel for drainage, placed at the bottom of the container.

    Begin by covering the bottom of your chosen container with gravel, if you choose to include it, and then fill the rest up with potting soil. Then, you can begin laying out where you will plant your foliage. It’s best to choose plants that will do well in your selected container and location as well as options that bring color and visual interest. Once you have a general idea of your placement, you can begin planting. Remember not to overcrowd when planting as you will be adding additional items in for decoration. Once you have everything planted, you can begin decorating. If you’re really stuck, check out ideas on Pinterest or Instagram. There are many different ways you can decorate your garden, so let your imagination thrive, and your fairy garden grow!

    If you have any questions that weren’t answered, or if you need more information, feel free to stop by and see us at either the Broad St. or Mechanicsville location. You can also give us a call or drop us an email at info@stranges.com. We’re here to help you grow better!

    Connect with Strange’s

    Instagram: @StrangesRVA            Facebook: @Strange’s Florist

    Mechanicsville: 804-321-2200    West Broad: 804-360-2800

Follow Us

Mastercard Visa American Express Discover McAfee SECURE sites help keep you safe from identity theft, credit card fraud, spyware, spam, viruses and online scams
RVA

©2025 Strange's Florists. All rights reserved.
Website design by Torx Media