


Soil Prep for Spring Planting
Introduction
Healthy spring gardens start from the ground up! Taking time to prepare your soil in early spring sets the stage for strong roots, steady growth, and better harvests later on. Plus, healthy soil prep helps reduce weeds, prevent compaction, and more. Keep reading for our simple, practical guide on assessing your soil, improving its structure, and getting your garden ready for a successful spring growing season.
Why Soil Prep Matters
Soil preparation is the foundation of a successful garden. Well-prepared soil provides proper drainage, uses vital nutrients, and allows roots to grow deeply and easily. It also helps suppress weeds, reduce erosion, and improve overall soil structure. When soil is healthy, plants are better able to handle stress from heat, drought, pests, and disease. Taking time to prepare your soil before planting creates an environment where plants can establish quickly and grow more vigorously throughout the season.
Steps for Spring Soil Prep
Recommended Tools & Supplies:
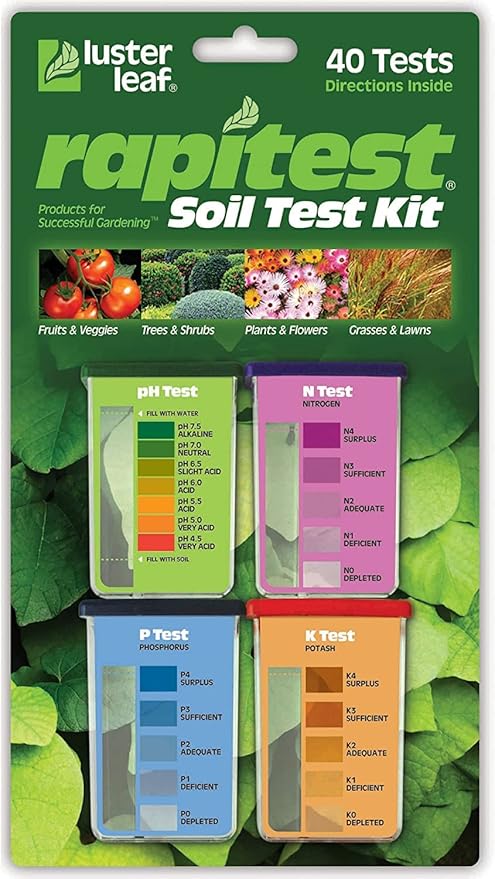
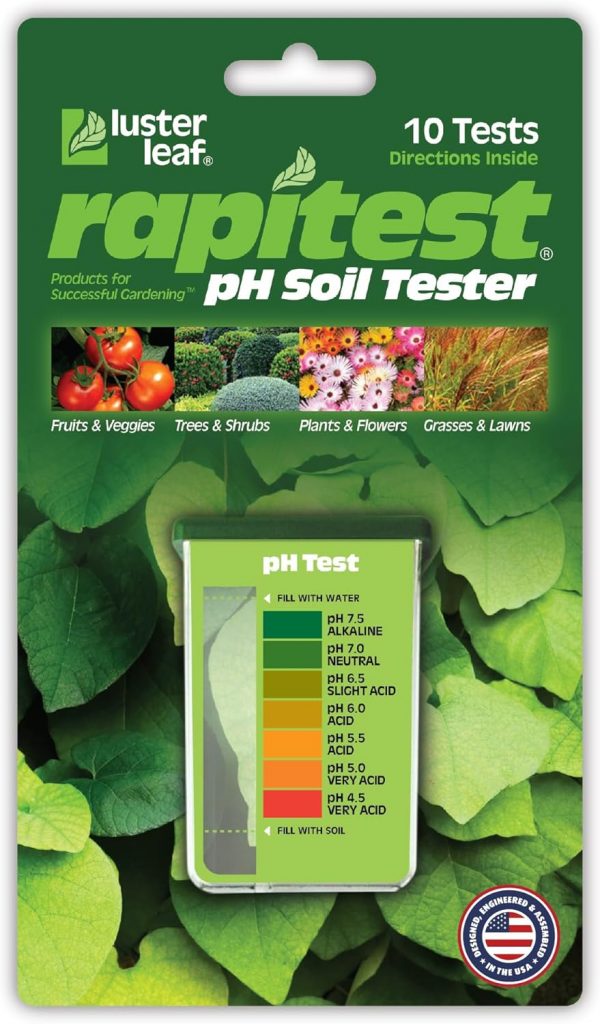
- Soil testing kit: provides valuable insight into soil composition, pH level, and nutrient content. Purchase in-store, or request from your local Virginia cooperative extension office.
- Garden fork or tiller: helpful for loosening compacted garden soil.
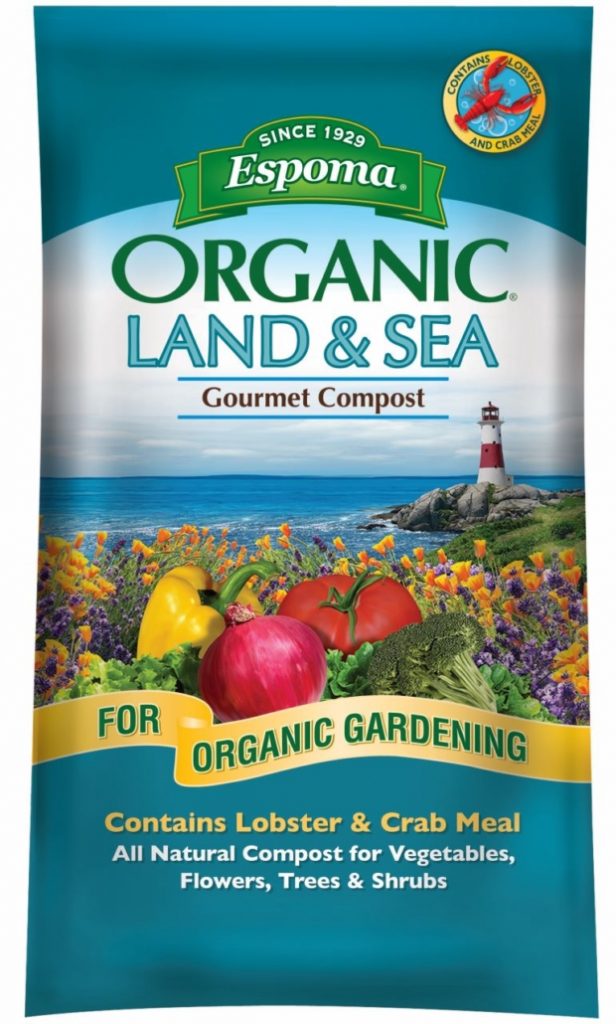
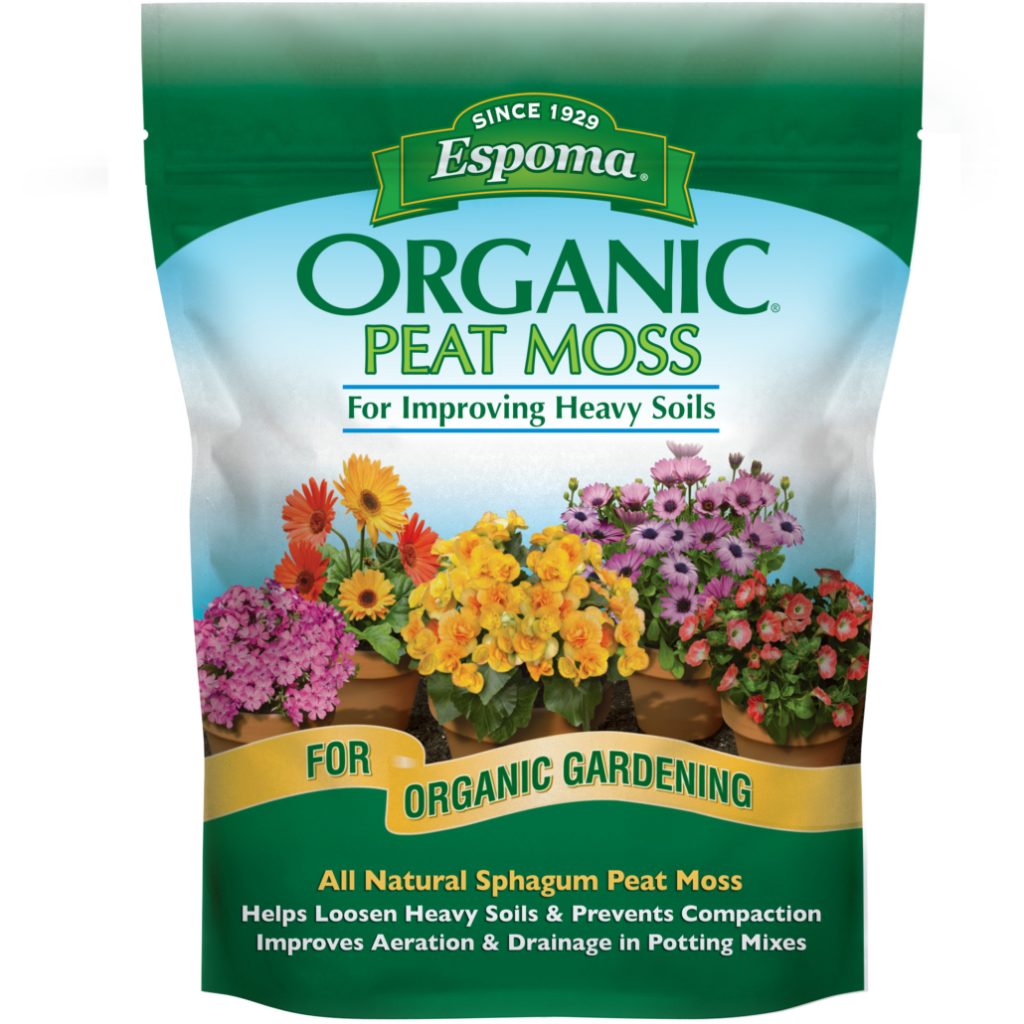
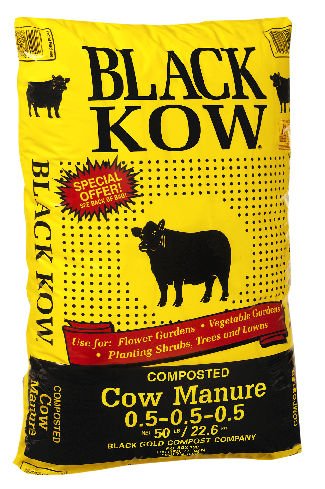
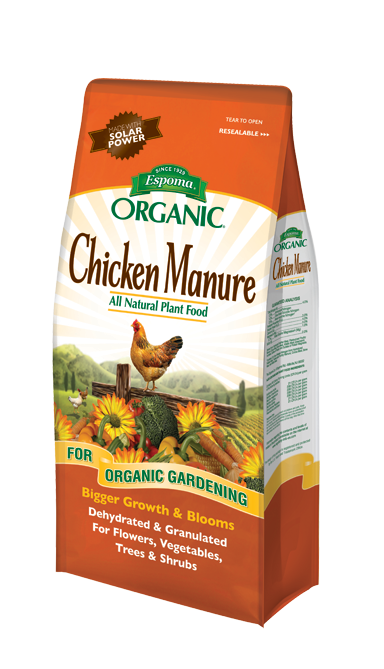
- Organic matter: such as compost or aged manure; used to enrich soil.
- Mulch: such as shredded leaves, straw, wood chips; used to maintain moisture and prevent weeds.
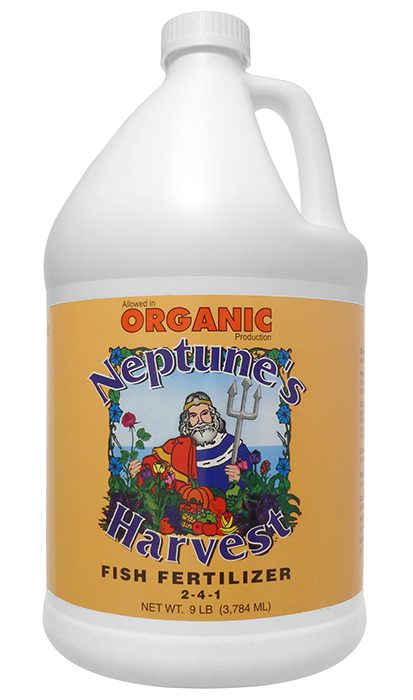
- Organic fertilizers: such as fish emulsion, bone meal, blood meal; supplements vital soil nutrients.
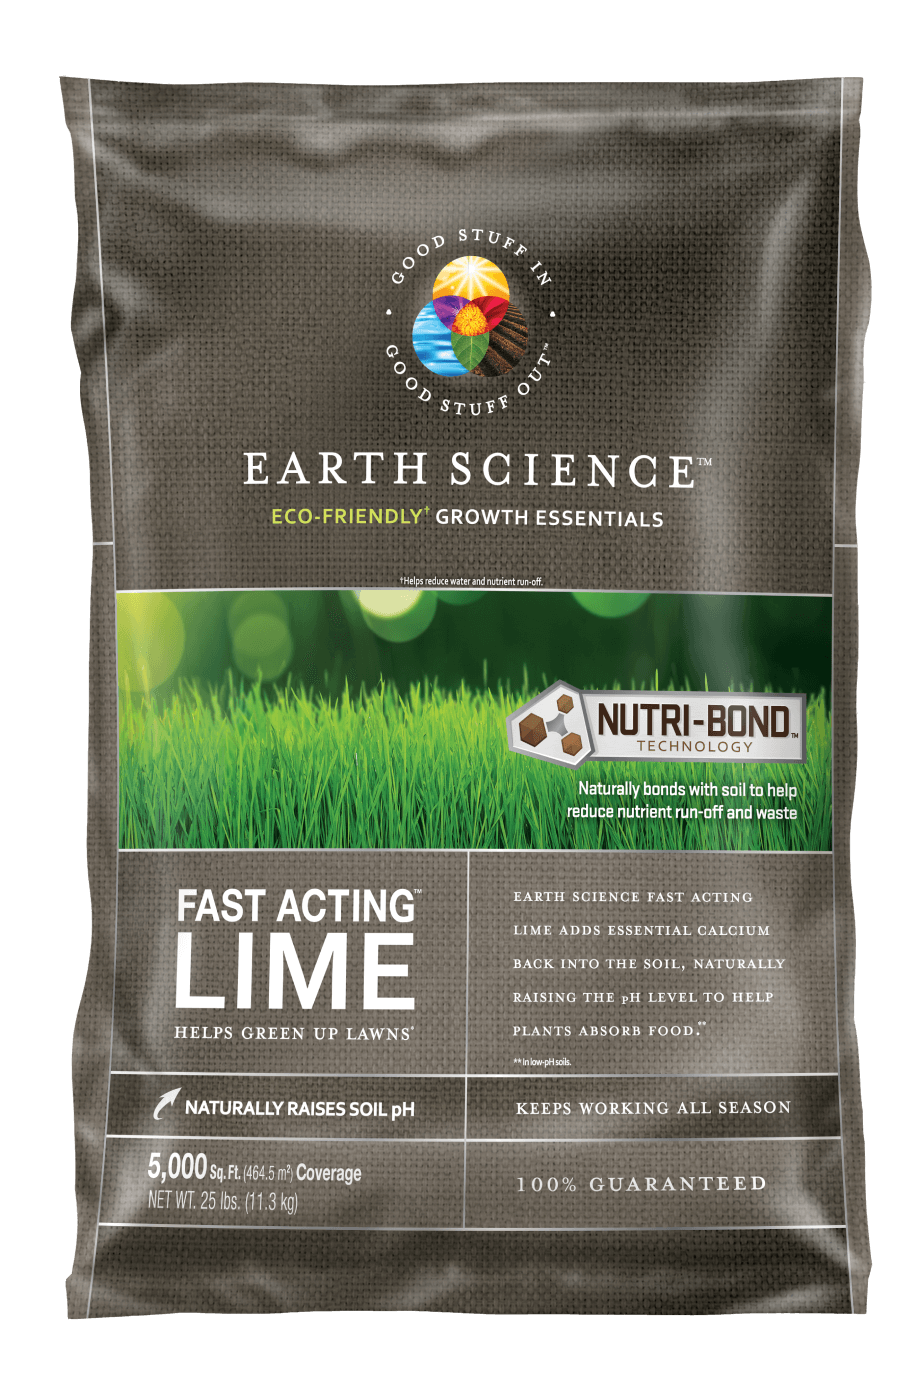
- pH adjusters: such as lime or sulfur; used as necessary to adjust soil acidity.
- Gloves and glasses: recommended for protection when working with soil amendments.
1. Assess and Test Your Soil
Before planting, take time to evaluate your soil’s condition. Look for signs of compaction, poor drainage, or areas where water tends to pool. Dig down a few inches and notice how the soil feels; healthy soil should crumble easily and feel moist, but not sticky.
Types of soil:
- Clay: made of fine particles that become sticky when wet. Compacts easily and drains poorly; nutrients may be present, but can’t be used by plants. Typically cracks in dry heat.
- Fix it: add compost and fiber, such as straw, shredded bark, or peat moss.

- Sand: gritty and loose texture that drains quickly, leaching out vital nutrients.
- Fix it: add compost, aged manure, coconut coir, and/or peat moss for moisture retention.


- Silt: smooth and fertile soil; holds moisture but compacts and erodes easily.
- Fix it: add organic matter, such as aged manure, compost, and minimize tilling.
- Loam: ideal mix created from other three types; rich with organic matter. Feels damp, but not sticky, and holds moisture while draining well. Crumbles easily after rain.
Before adding any amendments, take time to purchase or request a soil test. Soil pH affects how well plants can absorb nutrients, and most vegetables thrive in a pH range of 6.0 to 7.0. Don’t guess here; testing is the only way to know whether adjustments are needed. Simple DIY tests, like these recommended by the Farmer’s Almanac, can provide helpful insights before you make changes. If soil is acidic, add garden lime. If soil is alkaline, add powdered sulfur. Note: you don’t need to “fix” the pH if you plan to grow plants suited to your existing soil.


2. Loosen Soil & Clear Debris
Healthy soil needs air as much as it needs nutrients, but timing matters. Avoid working the soil when it’s excessively wet, as this can lead to compaction that’s difficult to fix later, or before temperatures have been consistently 50°F. To check wetness, grab a handful of soil and squeeze it. If it feels heavy, drips water, or makes a sucking sound when you scoop it up, leave it alone. If it crumbles easily, it’s ready to work.
Use a garden fork or tiller to loosen the soil 2-3″ deep, gently pulling back layers without flipping them over. This improves drainage and root penetration while protecting soil structure and beneficial organisms. Once the soil is loosened, clear away weeds, old plant material, leaves, and other debris so new plants aren’t competing for space, water, and nutrients.
3. Adding Nutrients
Once soil is loosened, it’s time to rebuild the fertility. Organic matter is the key to healthy soil, as it improves structure, supports beneficial microbes, and provides a slow, steady release of nutrients plants need to grow. If a soil test indicates nutrient deficiencies, targeted organic fertilizers can help, but more is not always better. Adding nutrients thoughtfully supports healthy growth without overwhelming plants or disrupting soil balance. Of all the essential nutrients, three are the most vital, and are listed on fertilizer labels as N-P-K numbers:
- Nitrogen (N): fuels leaf and stem growth.
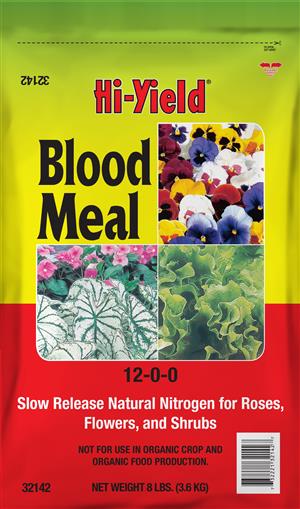
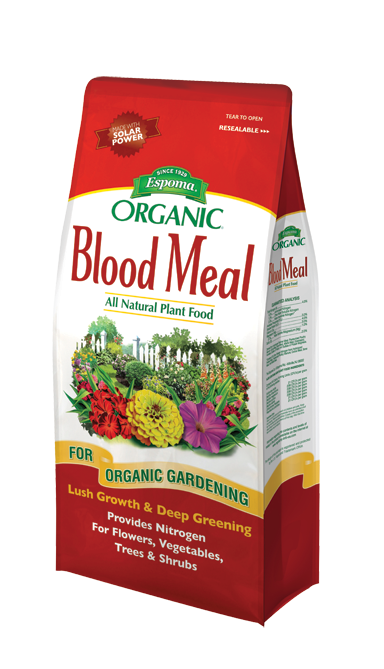
- Recommended amendment(s): aged manure, fish emulsion, blood meal.
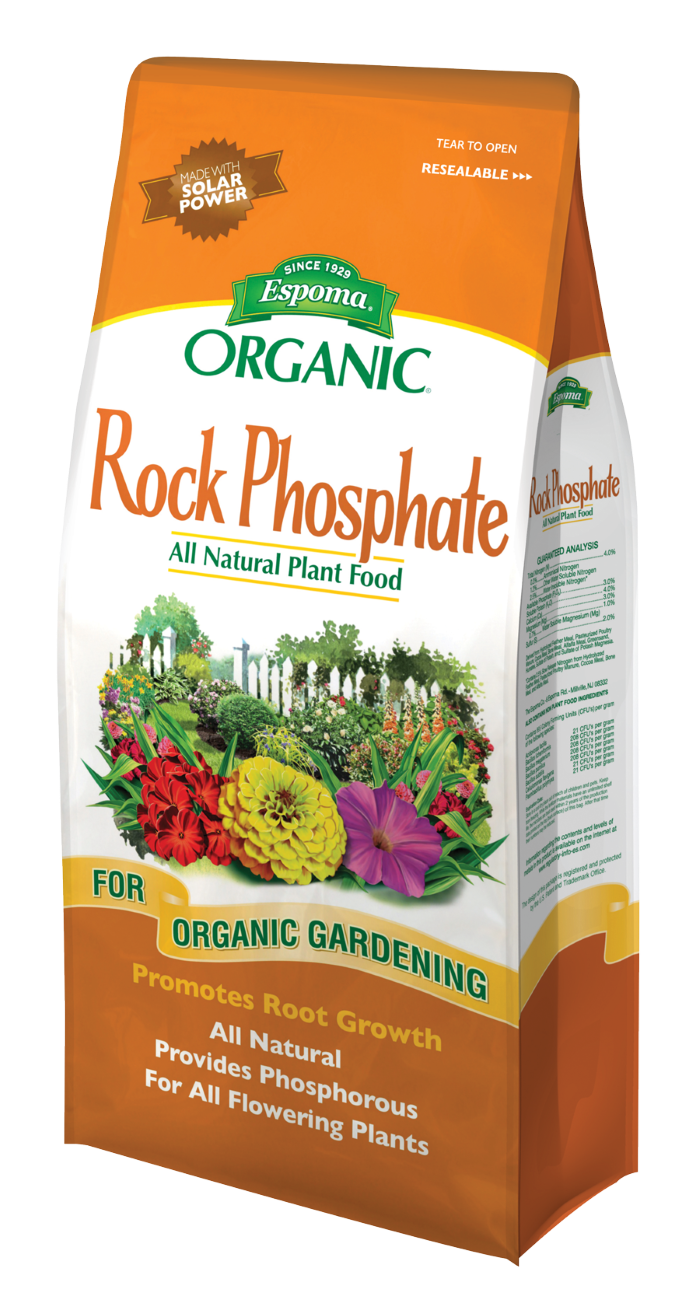
- Phosphorus (P): aids with root and flower development.
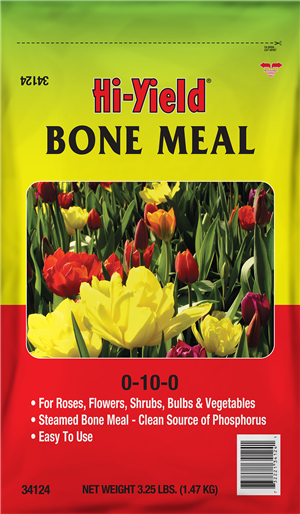
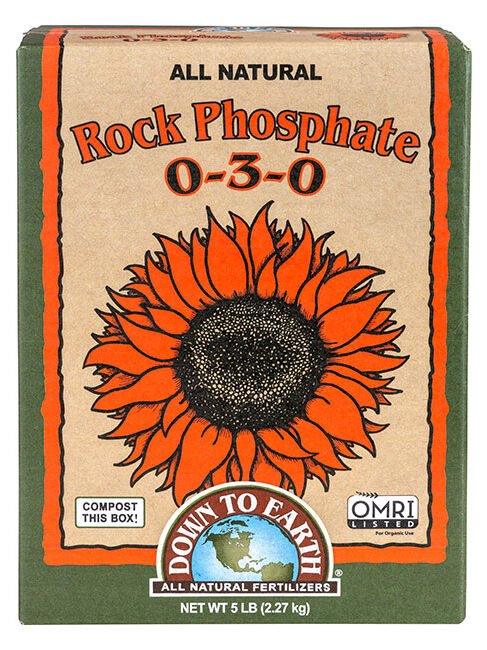
- Recommended amendment(s): bone meal, rock phosphate.
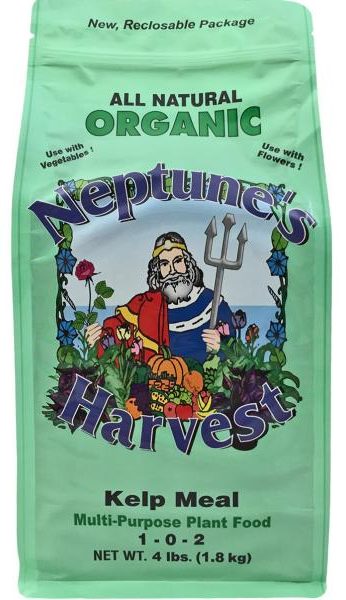
- Potassium (K): supplements root strength, disease resistance, and flavor for edible crops.
- Recommended amendment(s): greenrock, kelp meal.

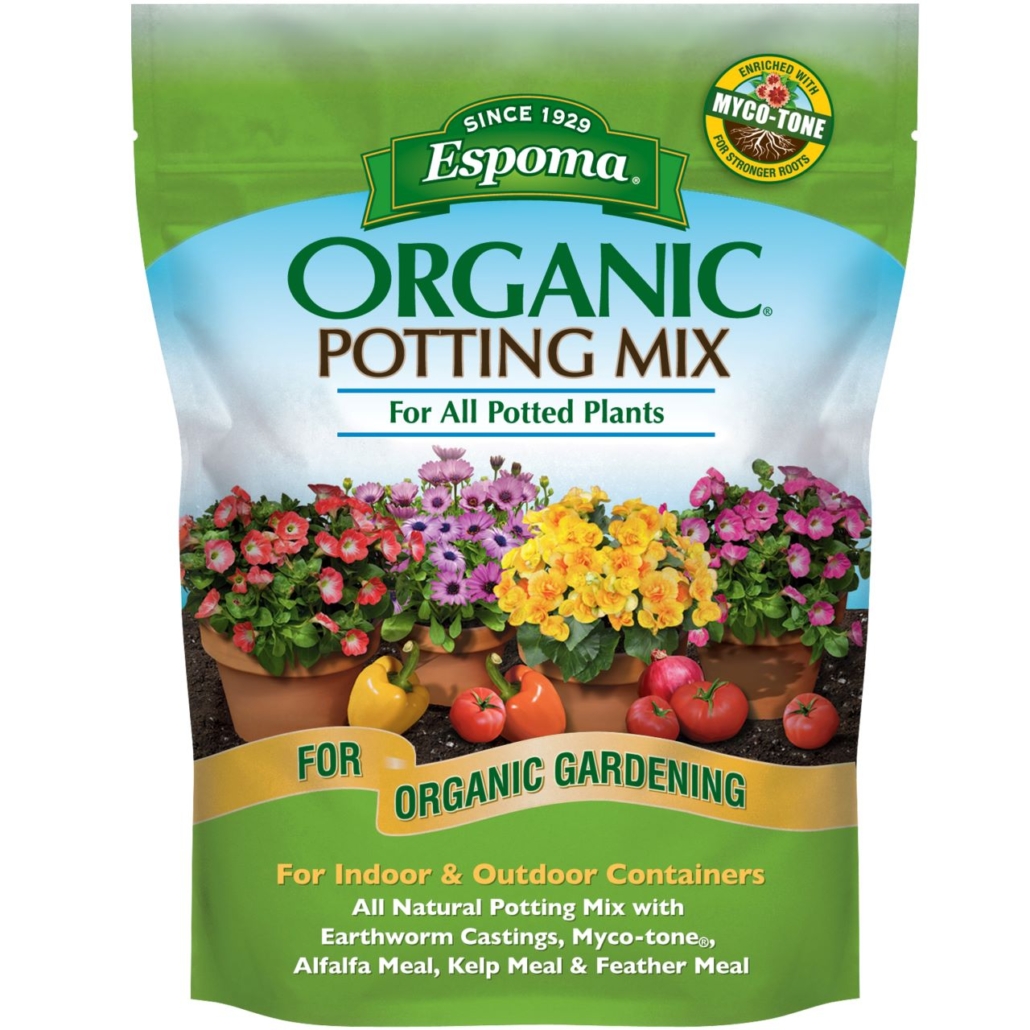
Spread 1 to 2 inches of selected compost over garden beds and work it into the top few inches of soil while preparing for planting. For new beds, mix compost deeper into the soil; for established beds, a lighter annual addition is usually enough. Aim for soil that contains about 5 percent organic matter—enough to hold moisture and nutrients without becoming dense. Note: topsoil is used to add volume, not nutrients; mix with compost for maximum impact. Potting soil is typically amended for ideal NPK levels and will only require compost amendments if desired.
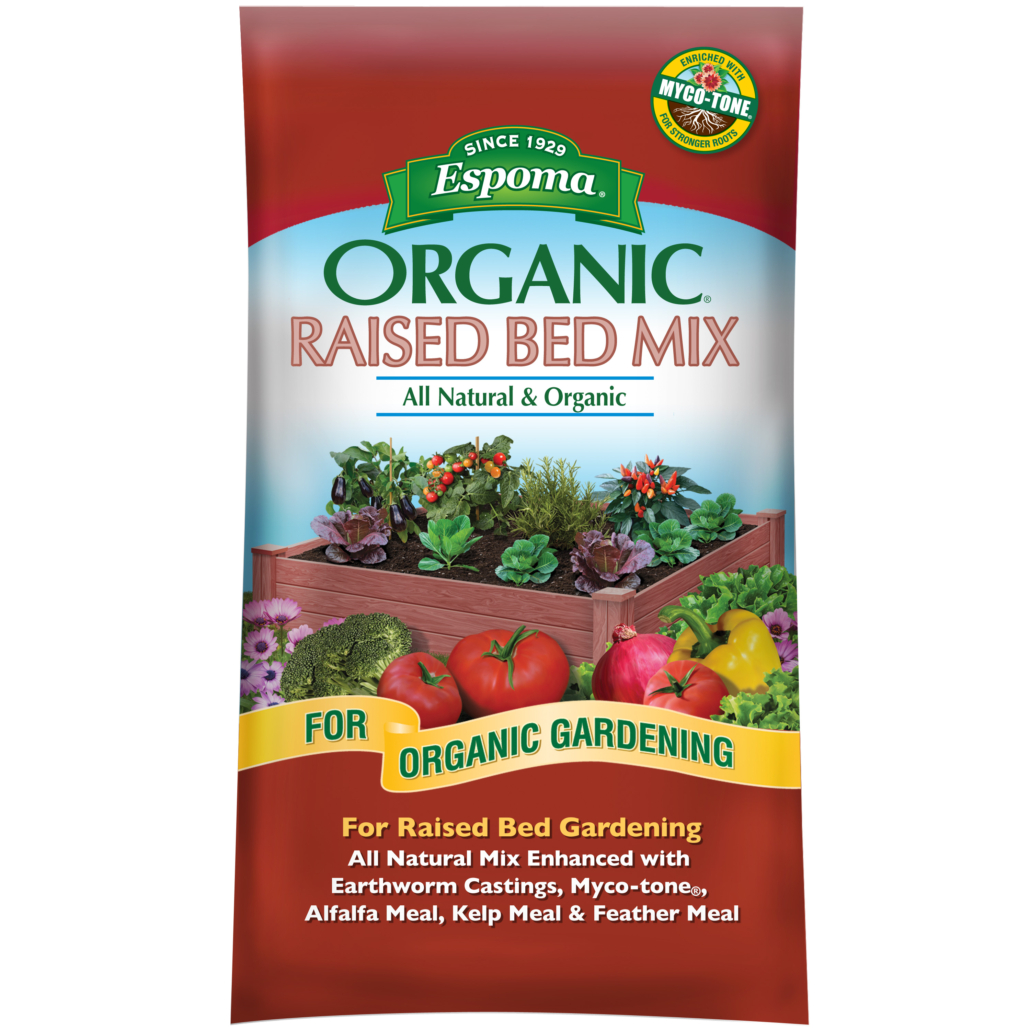
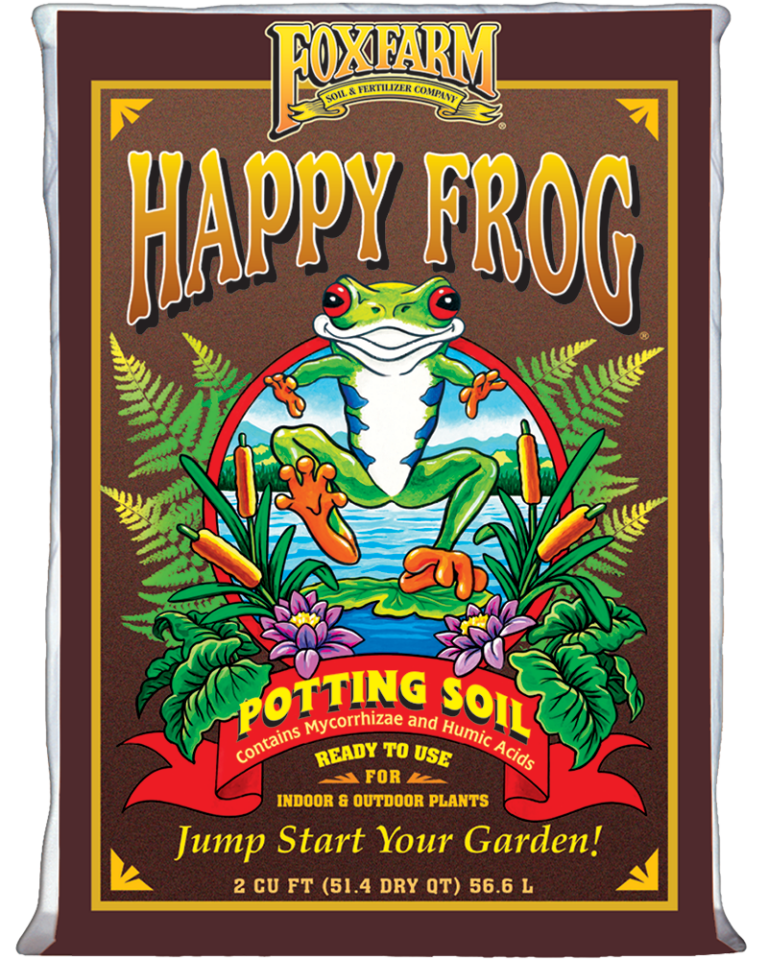
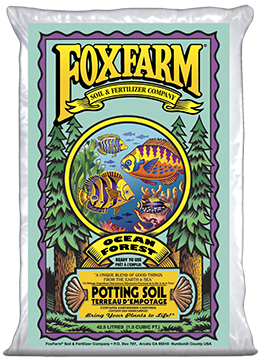
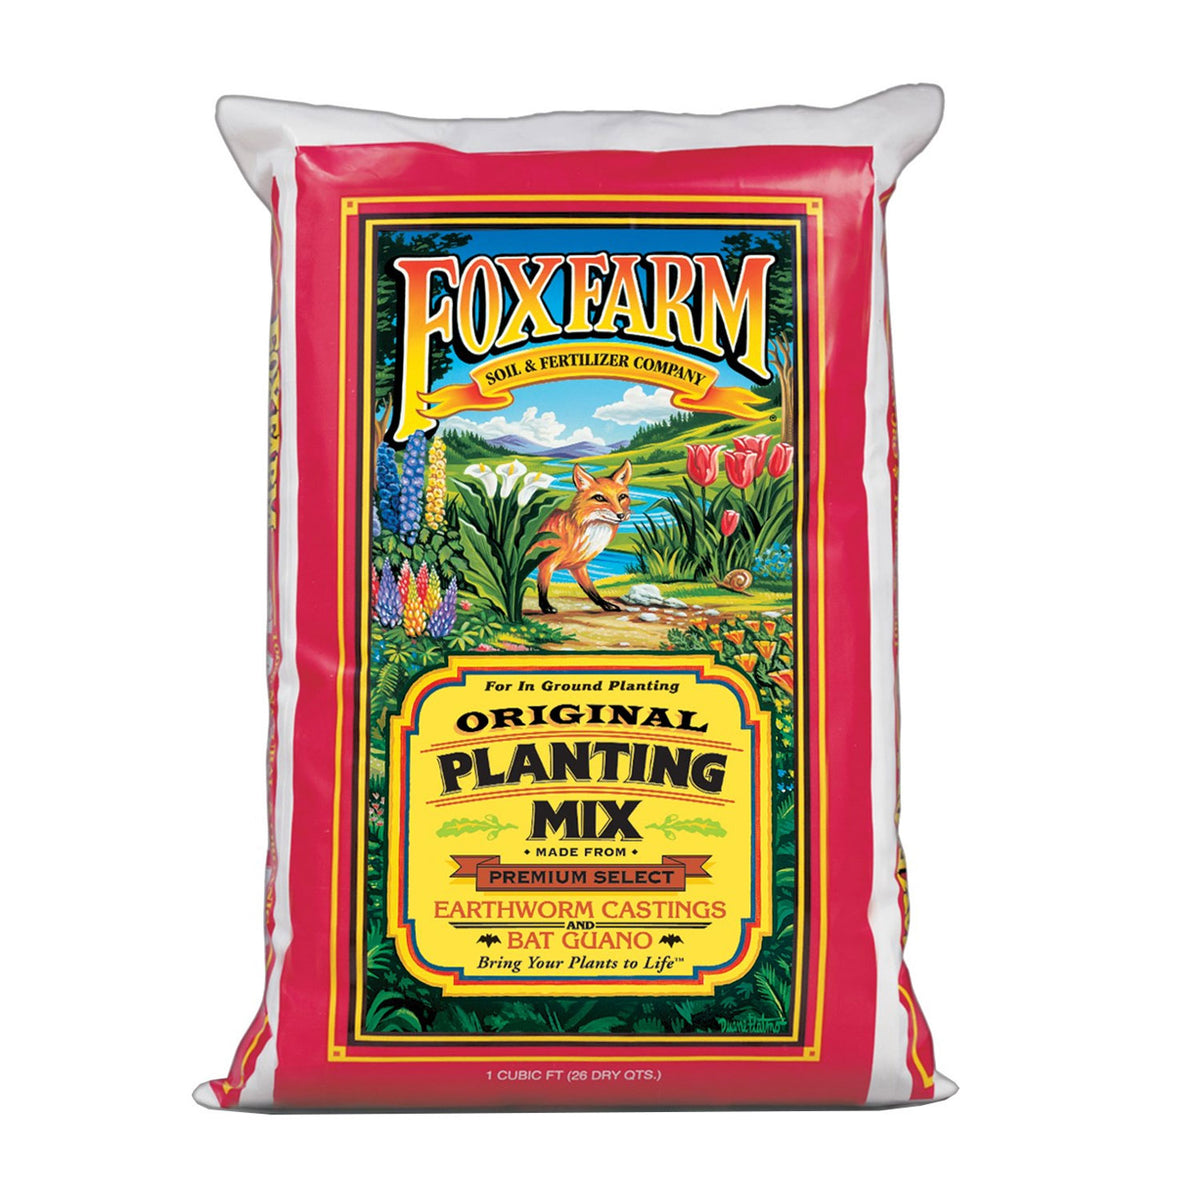
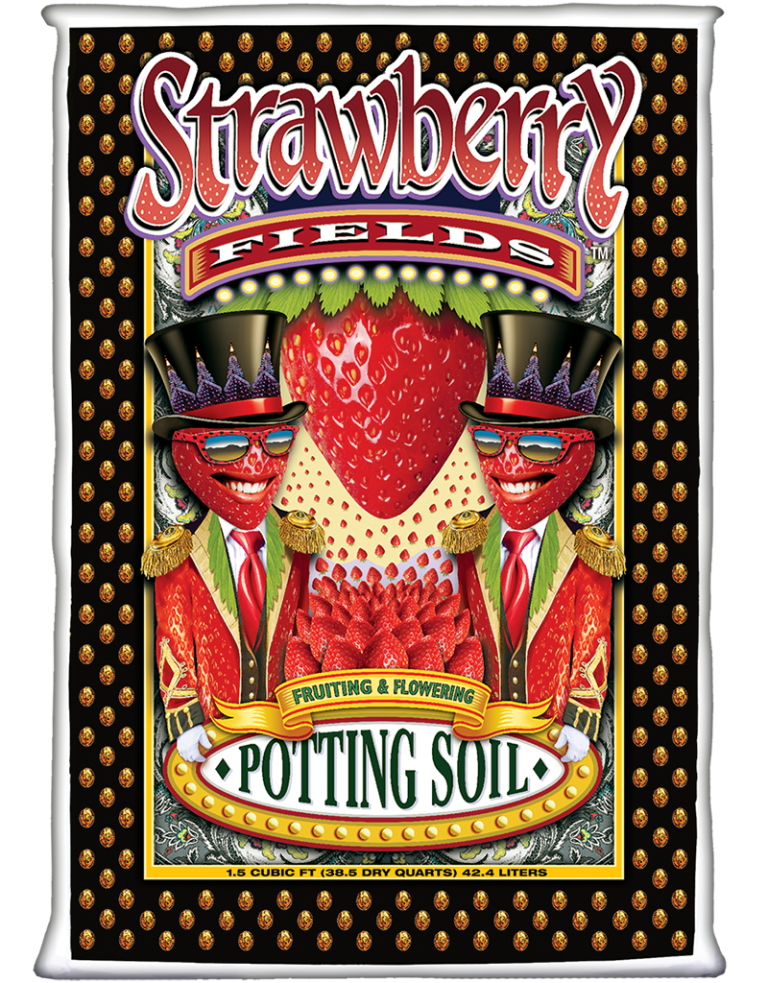
Recommended potting soils sold at Strange’s:


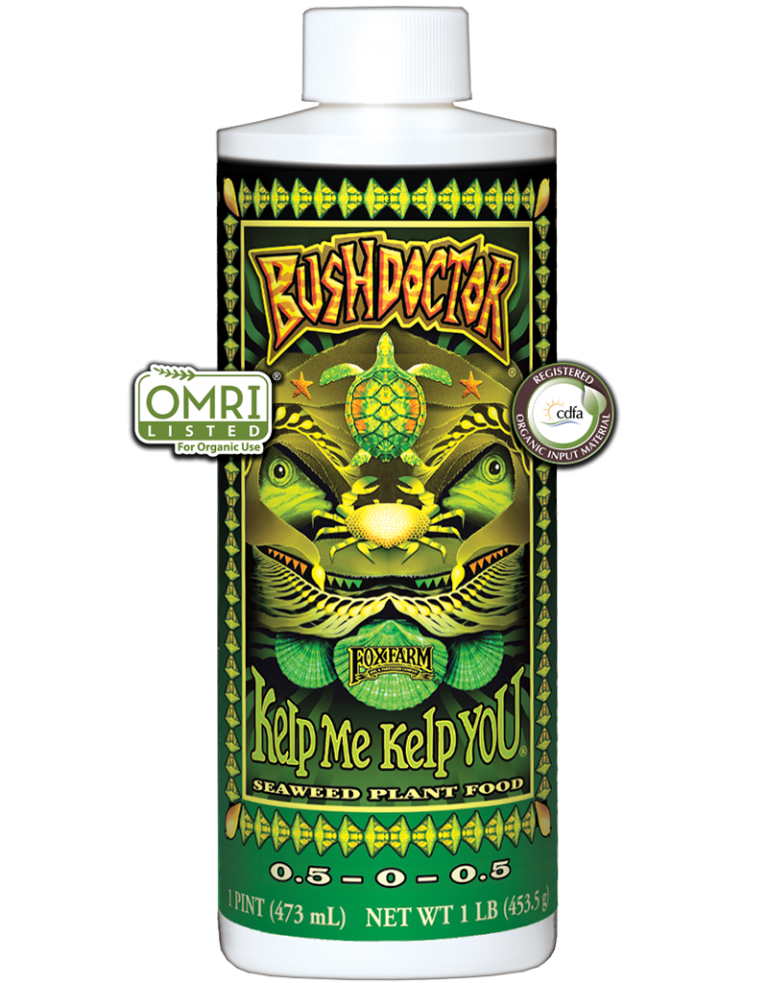
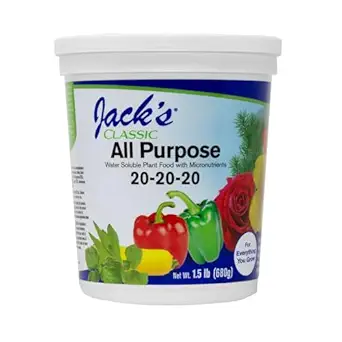
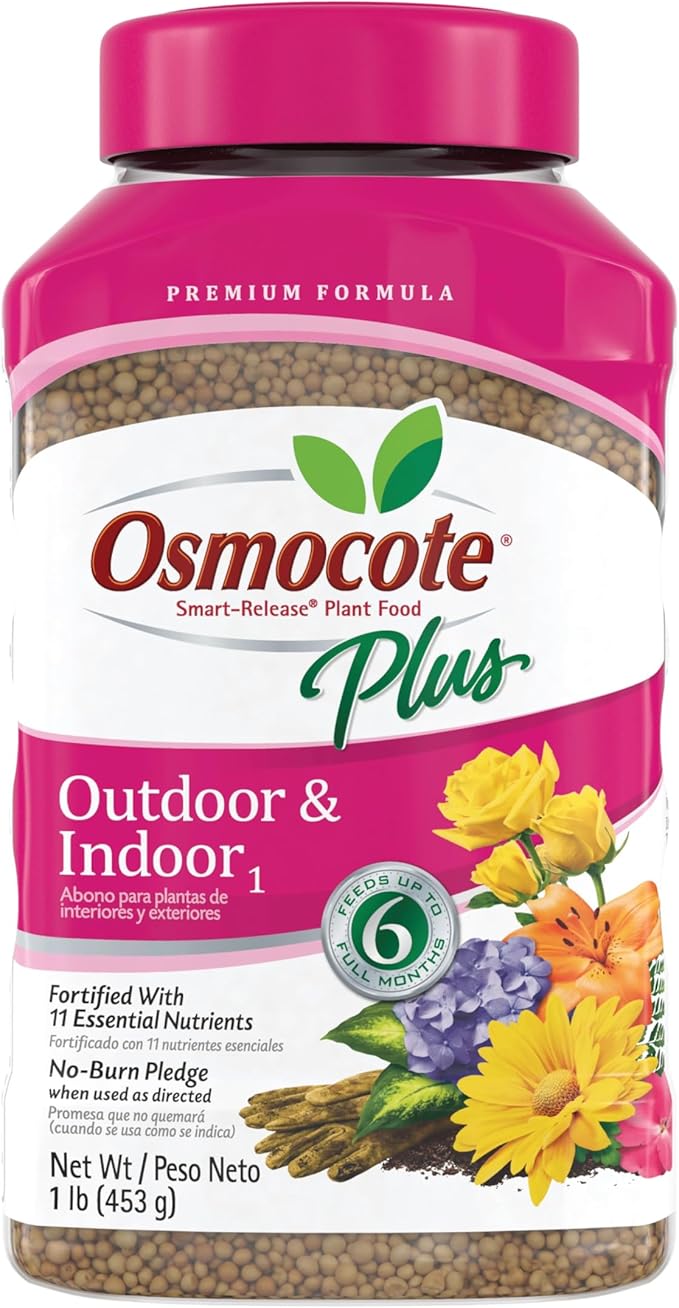
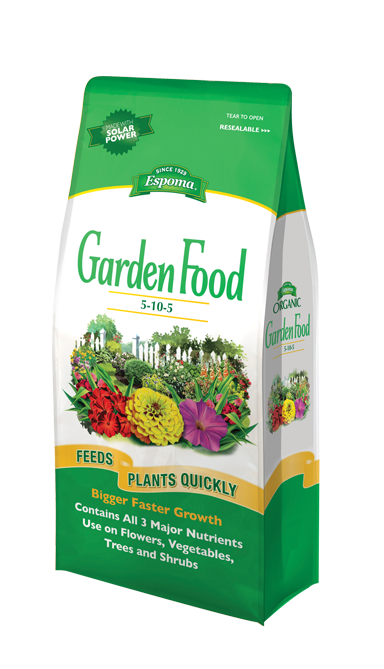
Recommended easy fertilizer blends sold at Strange’s:

 .
.  .
.  .
. 


4. Mulch Your Soil
After amending the soil, apply a layer of mulch to protect the work you’ve done. Mulch helps conserve moisture, suppress weeds, and regulate soil temperature as spring weather fluctuates. Use organic mulches such as shredded leaves, straw, or wood chips, choosing materials appropriate for vegetables, perennials, or shrubs. As mulch breaks down, it adds even more organic matter to the soil.
Recommended mulch sold at Strange’s:
Once mulched, allow the soil to rest for one to two weeks before planting. This gives nutrients time to settle and soil life a chance to rebound. After resting, rake the surface smooth and your beds are ready for planting!
Conclusion
Healthy soil doesn’t happen overnight—it’s built one season at a time. Spring soil preparation doesn’t need to be complicated or perfect, just intentional. By loosening the soil, adding organic matter, and protecting it with mulch, you create an environment where plants can establish quickly and grow strong. A little effort now pays off all season long in healthier plants and better harvests!
If you have any questions that weren’t answered or need more information, feel free to stop by and see us at either the Broad St. or Mechanicsville location. You can also give us a call or drop us an email at info@stranges.com. We’re here to help you grow better!
Connect with Strange’s:
Instagram: @StrangesRVA Facebook: @Strange’s Florist
Mechanicsville: 804-321-2200 West Broad: 804-360-2800


